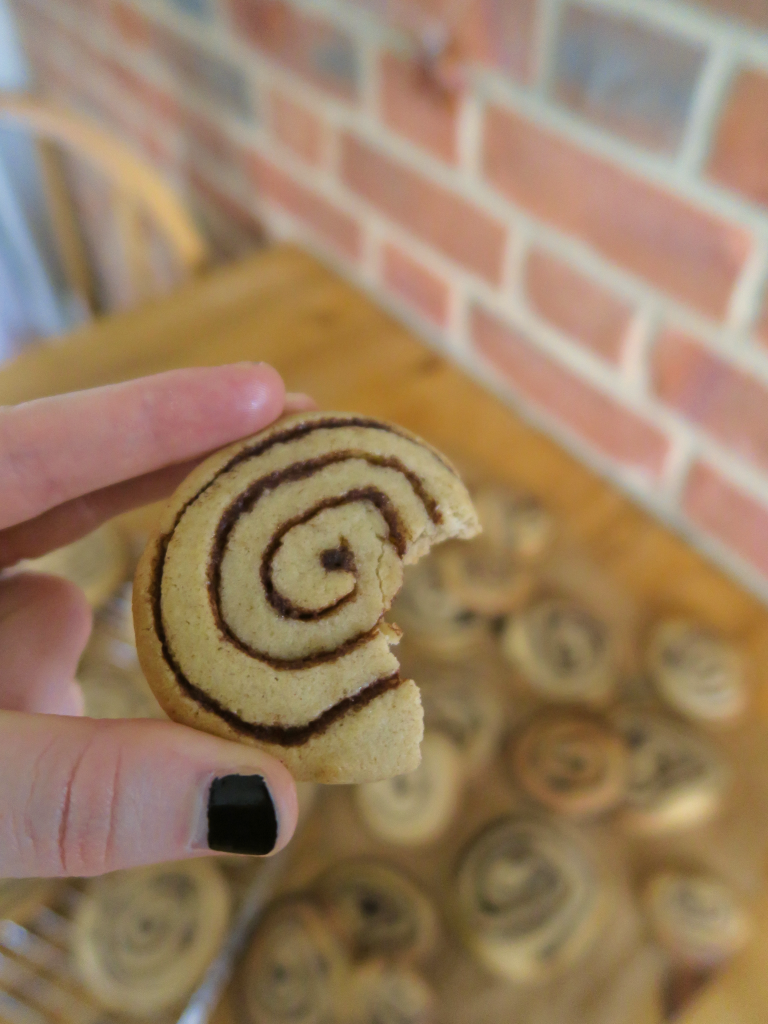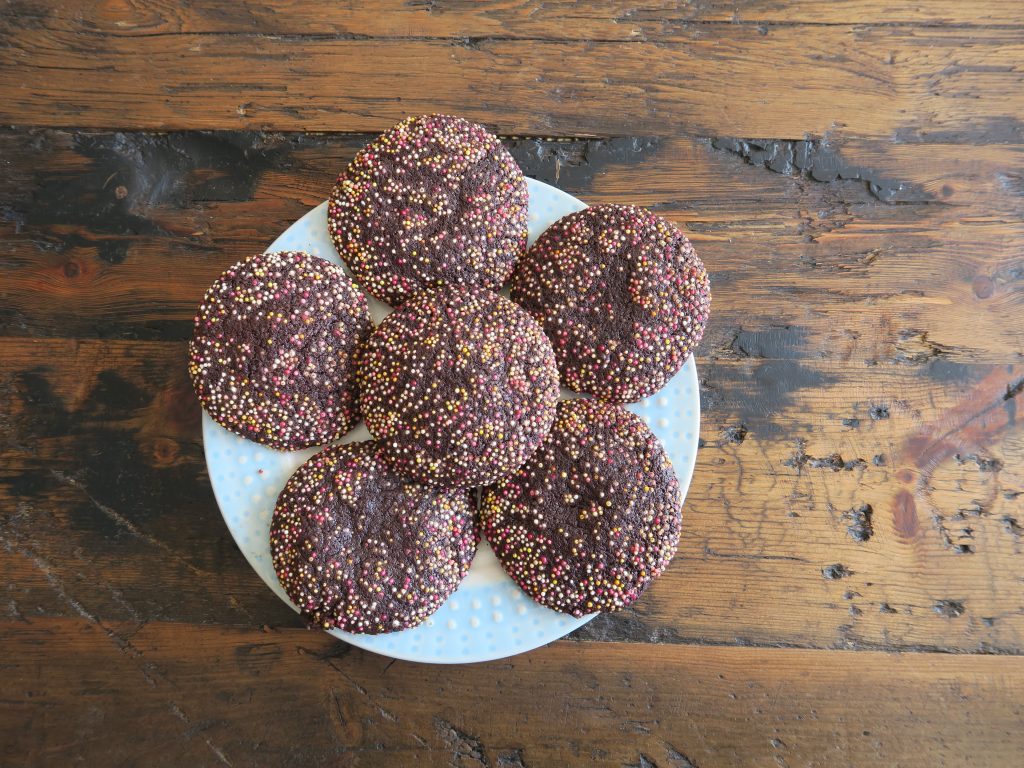
Cinnamon Spiral Cookies
I’m back! Recently I’ve been so busy that I’ve been working solely from other people’s recipes rather than creating my own, but today I found some time to start being creative again, so here we are!
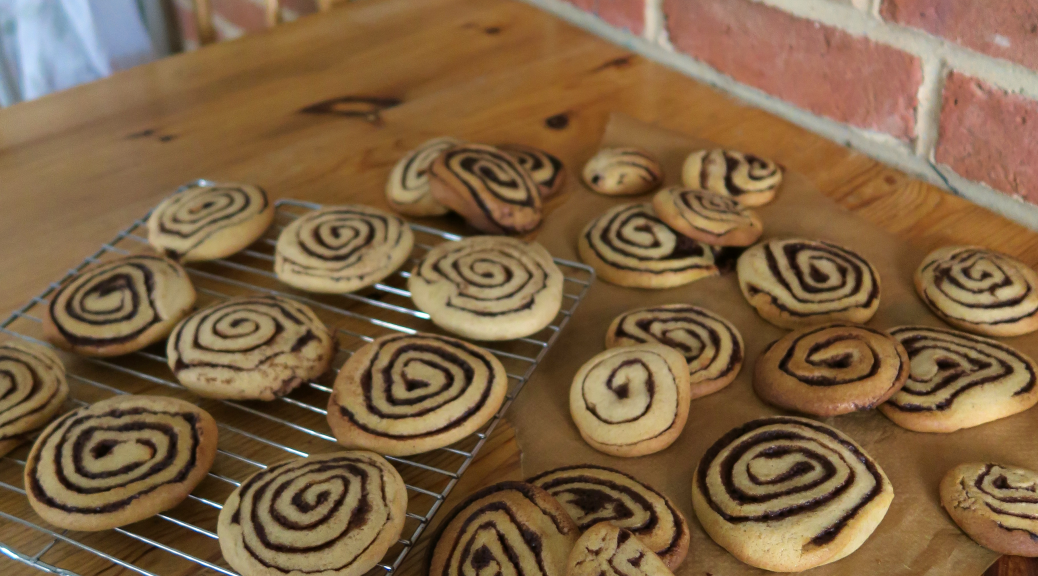
My family are obsessed with cinnamon buns so part 2 of why I haven’t been creating new recipes recently is because I’ve been making so many cinnamon buns for everyone that we’ve forgotten other bakes exist. But today I thought it was time to branch out from one swirly cinnamon thing to another – biscuits! These are a bit quicker to make than buns as you don’t have to wait for anything to rise, but you still get a sweet cinnamon morsel and they’re more aesthetic than your average digestive, so what’s not to love?
I used dairy free margarine to make these as my Mum’s dairy free, but I’d recommend using block butter if at all possible as it’ll make the dough a lot easier to work with when rolling. If you are working with marg two tips are….
- Try cutting down to 1/2 an egg by whisking up a whole egg in a small bowl and then trickling in a little bit of it to the butter-sugar mixture. Marg has a higher water content than block butter, so by cutting down the amount of egg you use you’ll be able to cut down the liquid content in the dough.
- Give yourself more time to chill the dough before rolling and slicing – the firmer it is the easier it’ll be to work with (though make sure it’s not actually frozen because that’s even trickier to work with!)
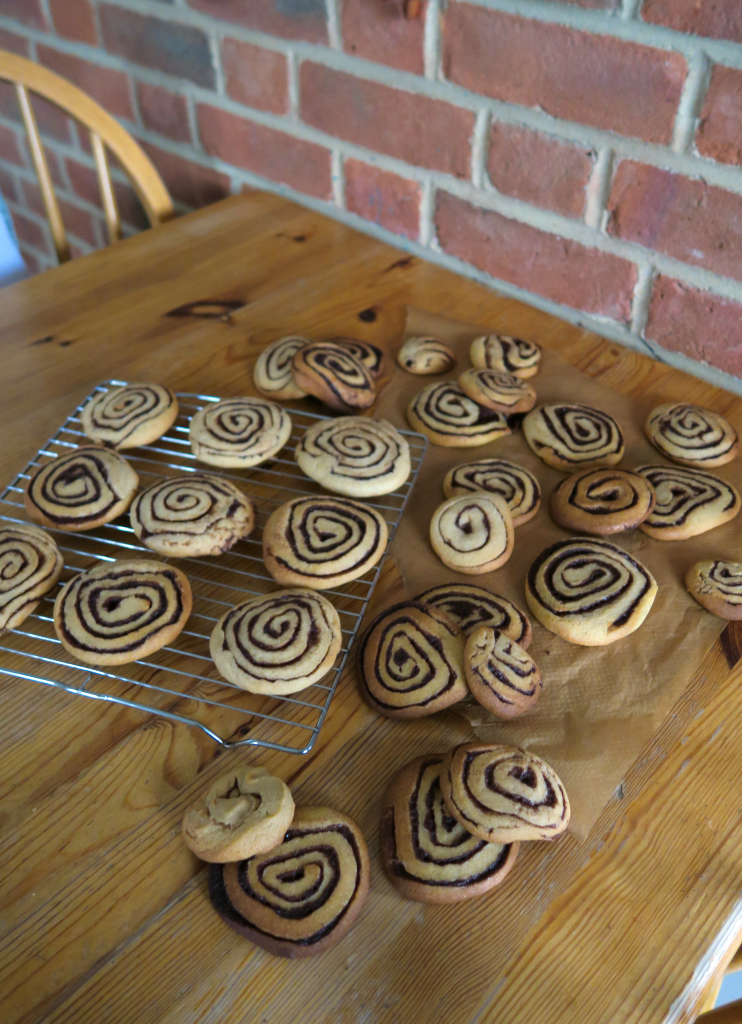
At the end of the day though, they’ll taste good whatever. Mine ended up coming out in all shapes, sizes, and colours – but they all taste great so job done! (I always think it’s good to have a range of sizes when baking individually-portioned things as it means you can choose a treat based on how hungry you are etc!)
Recipes
Makes around 30
Time: 1 hour (plus chilling time)
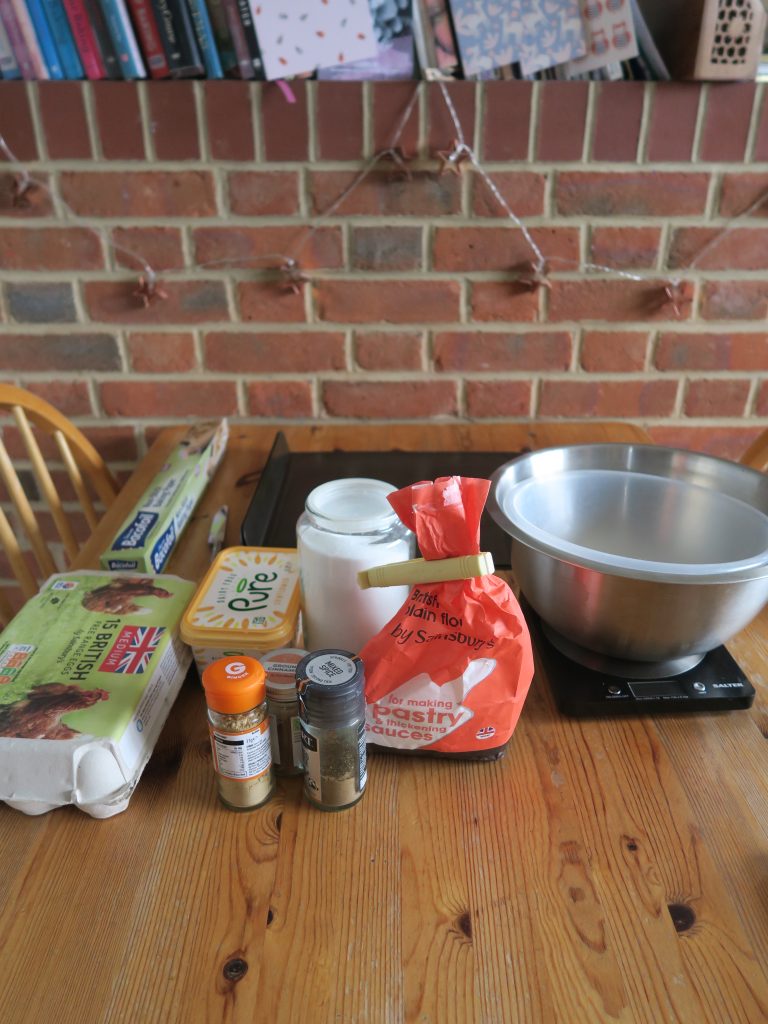
Ingredients
- 225g butter
- 200g caster sugar
- 1 egg
- 375g plain flour
- 1tsp ground cinnamon
- 1tsp ground ginger
- 1tsp ground mixed spice
- ½ tsp salt
For the filling
- 75g butter
- 75g caster sugar
- 3tbsp ground cinnamon
Method
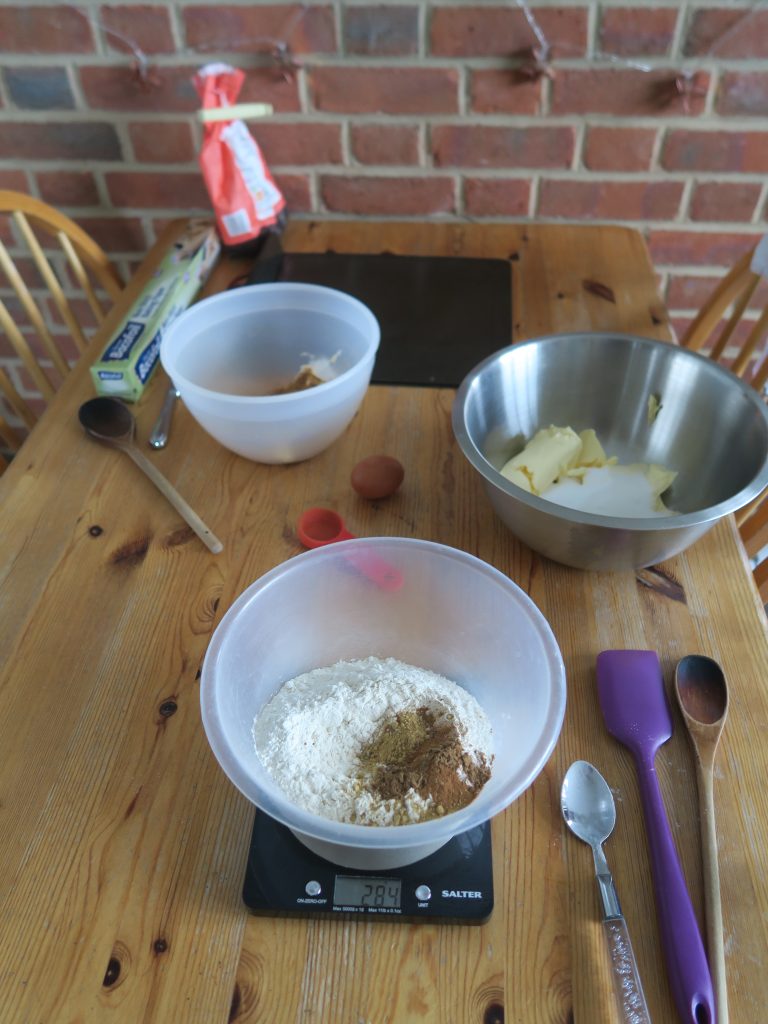
- Beat together the butter and sugar with a wooden spoon in a bowl until pale and fluffy.
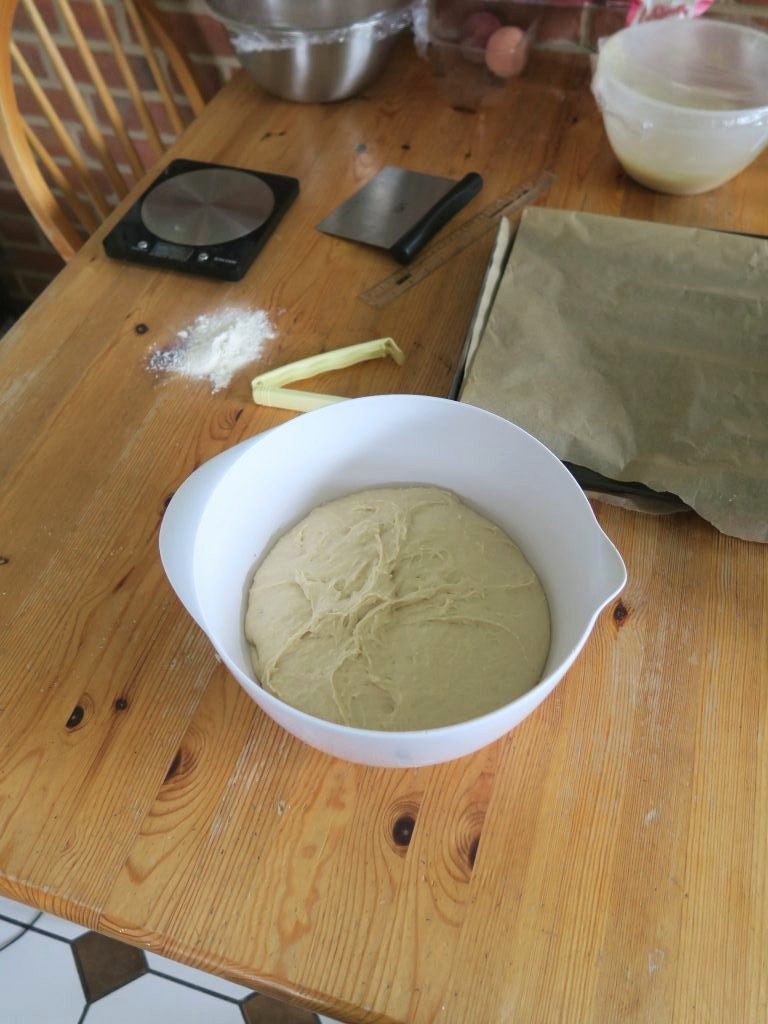
- Add the egg and beat again until combined. Then add the flour, spices and salt and stir to bring it into a dough. Leave in the fridge until needed.
- Next mix the ingredients for the filling in a small bowl until smooth. The mixture should be soft enough to spread easily.
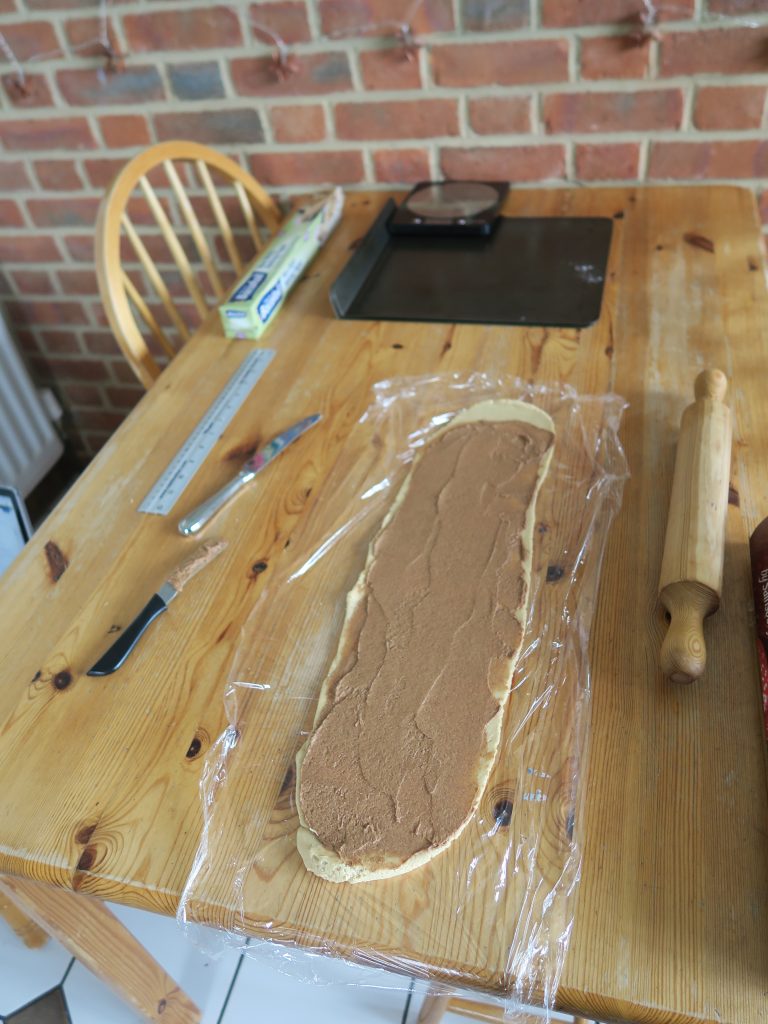
- Divide the biscuit dough in two. Roll one part into a thin rectangle around 50x20cm. (I find doing this between two pieces of clingfilm helpful!)
- Spread a thin layer of the cinnamon filling over the dough, leaving a 1cm boarder along one of the short ends.
- Roll the dough up from the short end with the filling going to the edge to make a tight roll.
- Repeat this process with the other block of dough. Then place both rolls on a baking tray (or plate) lined with baking paper, cover with clingfilm and place in the freezer for about 30 minutes. (You want them firm enough to slice easily, but not frozen solid).
- Pre-heat the oven to 180C. Line 2 baking trays with baking paper.
- Take the rolls out the freezer and use a sharp knife to cut slices about 0.5cm thick.
- Place the slices on the lined baking trays and bake for 8-10 minutes until golden brown. Transfer to a wire rack to cool. Enjoy!