Category: Bread

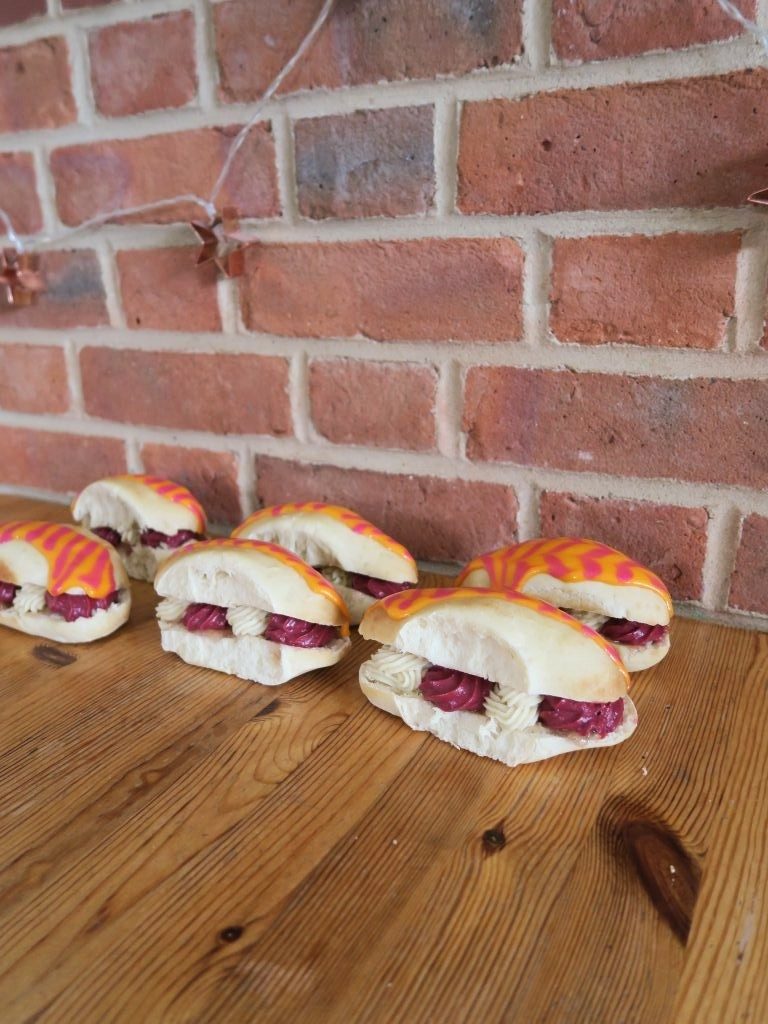
Peach Melba Iced Fingers

Peach Melba Iced Fingers

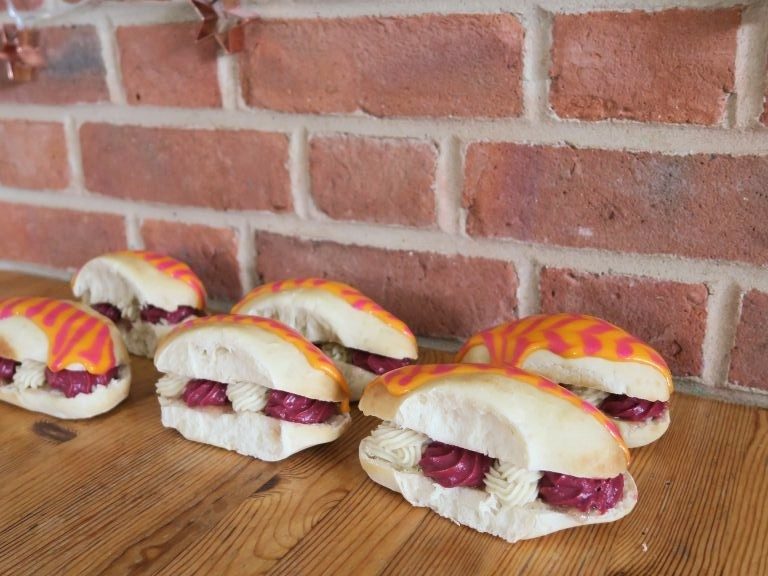
Peaches are in their prime right now so it’s the perfect time to be using them in your baking! I love playing off classic flavour combinations, so peach melba (peach, raspberry and vanilla) was my instant go-to when thinking of making something seasonal. These use a homemade peach jam so you could (if making this outside of peach season) use a shop-bought jam if needed! Likewise if you’re short on time you could whip up 300ml of double cream with 1tsp of vanilla extract, then fold through a handful of fresh raspberries to replace the creme patisseries!
Recipe

Makes 12

Time: 3 hours

Ingredients

For the dough

  • 500g strong white flour
  • 50g caster sugar
  • 40g unsalted butter
  • 2 eggs
  • 14g fast action dried yeast
  • 2 tsp salt
  • 150ml warm milk
  • 140ml water

For the crème patisserie

  • 250ml whole milk
  • 1 tbsp vanilla bean paste
  • 50g caster sugar
  • 3 egg yolks
  • 10g plain flour
  • 10g cornflour

For the raspberry crème patisserie

  • 250ml raspberry puree
  • 50g caster sugar
  • 3 egg yolks
  • 10g plain flour
  • 10g cornflour

For the peach jam

  • 4 medium sized peaches (about 300g, peeled and de-stoned)
  • 220g caster sugar
  • 2 tbsp lemon juice

For the icing

  • 200g icing sugar
  • 4 tsp cold water
  • 2 drops orange food colouring
  • 2 drops pink food colouring

Method

  1. Pre-heat the oven to 220C.
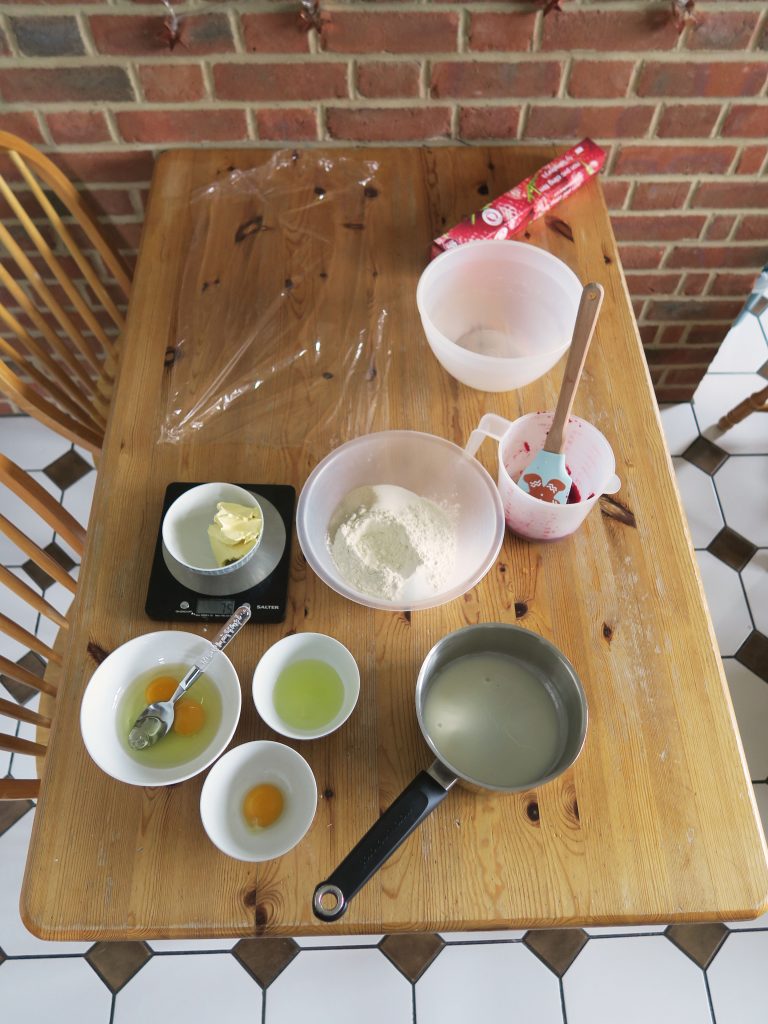
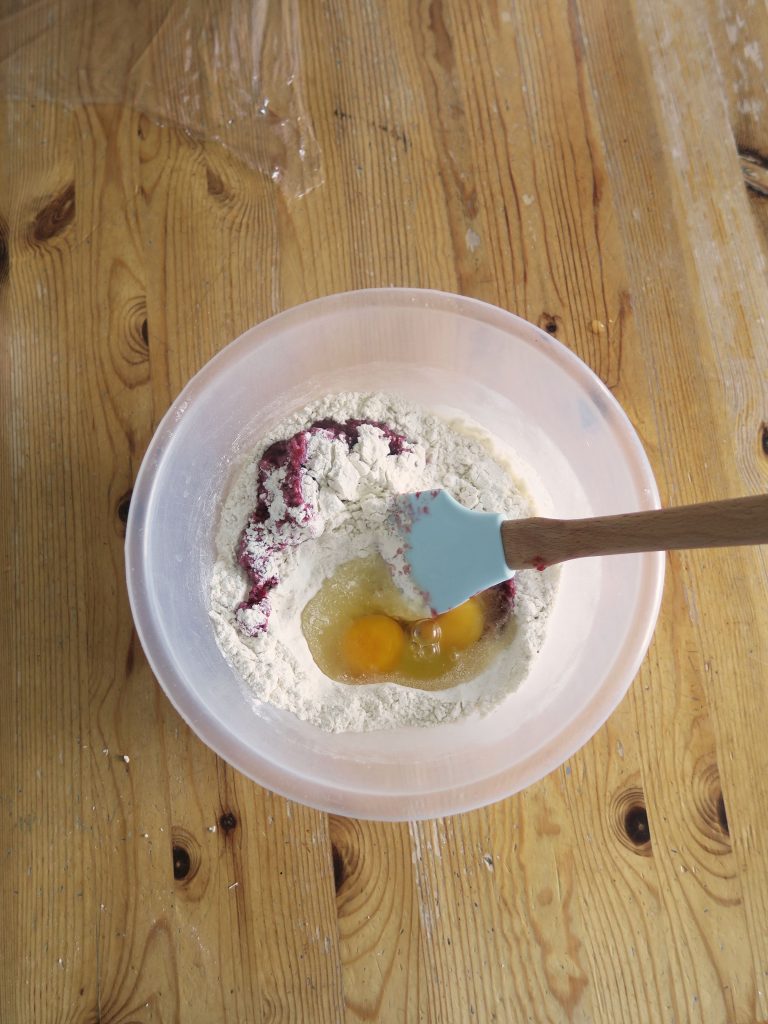
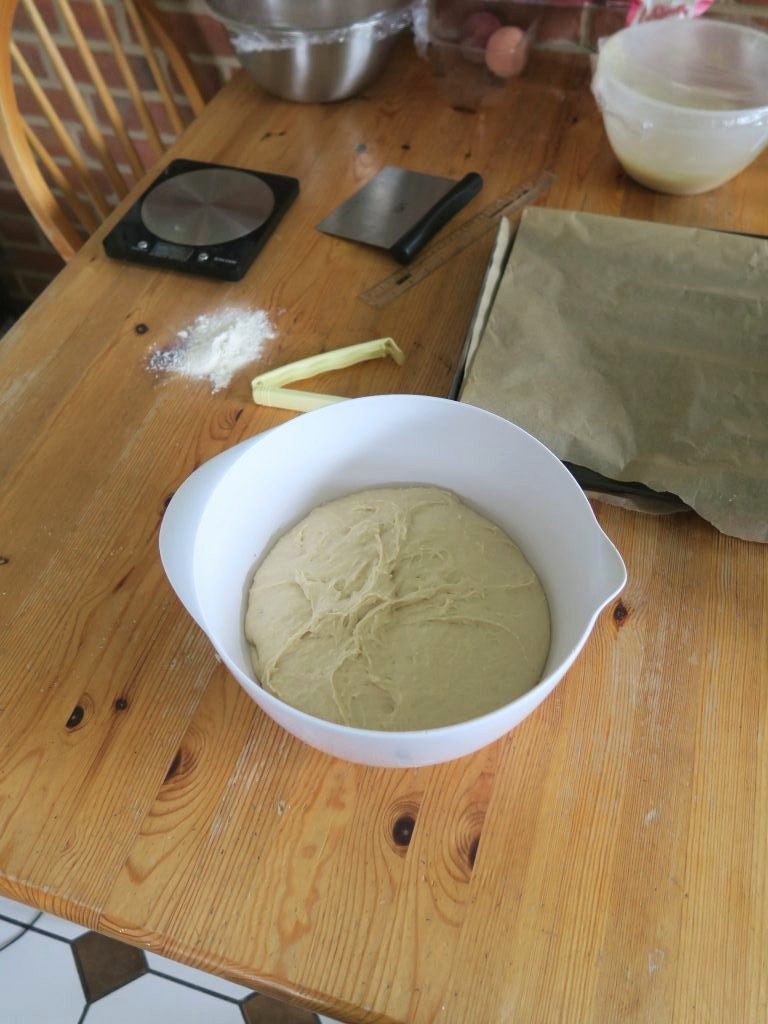
  2. Place all the ingredients for the dough into a bowl and mix until it comes together to make a soft dough. (If it’s looking a little dry add a little more water, up to 40ml).
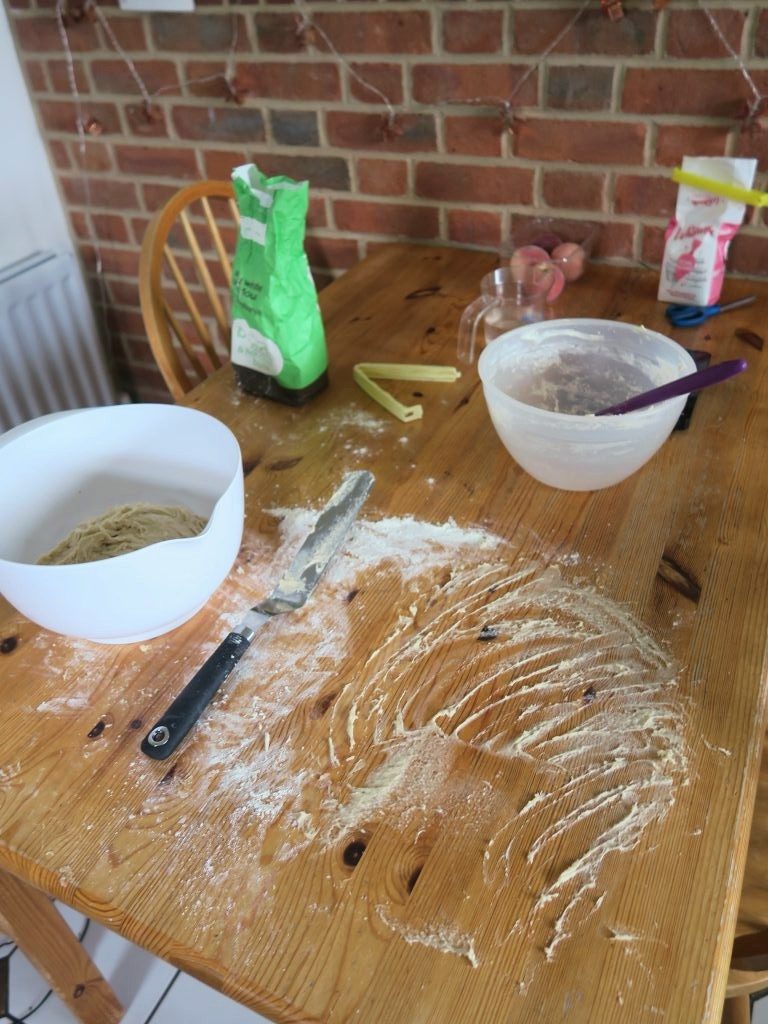
  3. Turn the dough out onto a worktop and knead until smooth and stretchy (about 10 minutes).
  4. Tip the dough into a lightly oiled bowl, cover with cling film and leave to rise for about 1 hour, until doubled in size.
  5. Take the dough out of the bowl and knead for 5 seconds to knock the excess air out.
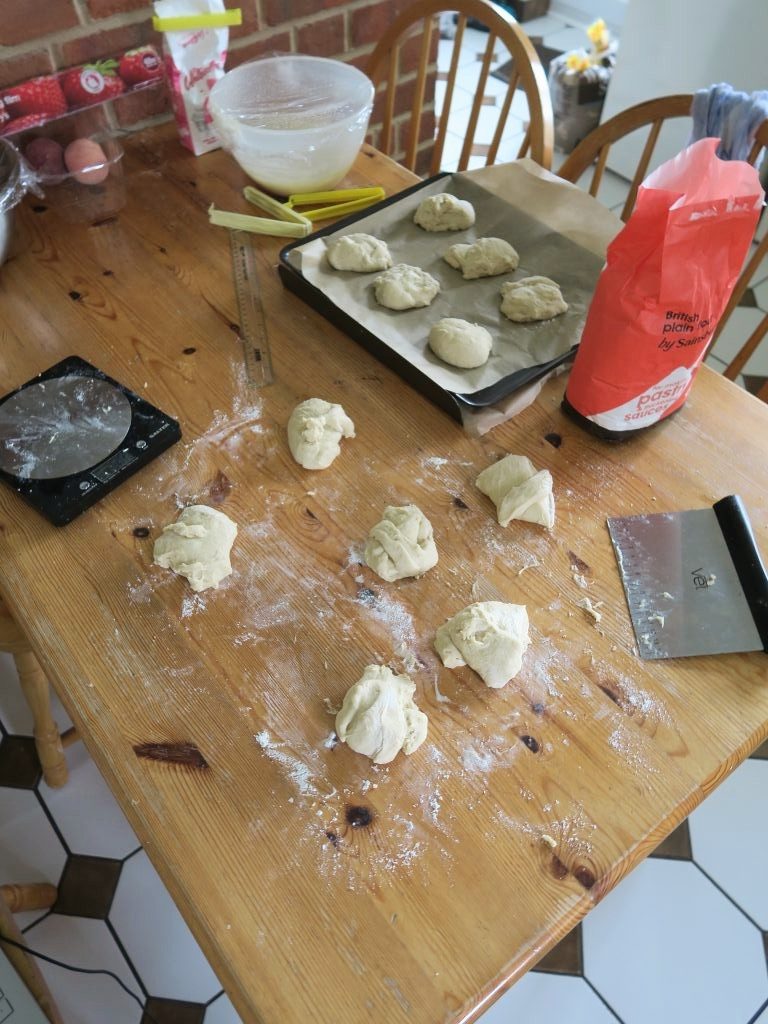
  6. Divide the dough into 12 equally-sized pieces. Roll each piece into a ball and then shape them into fingers about 13cm long.
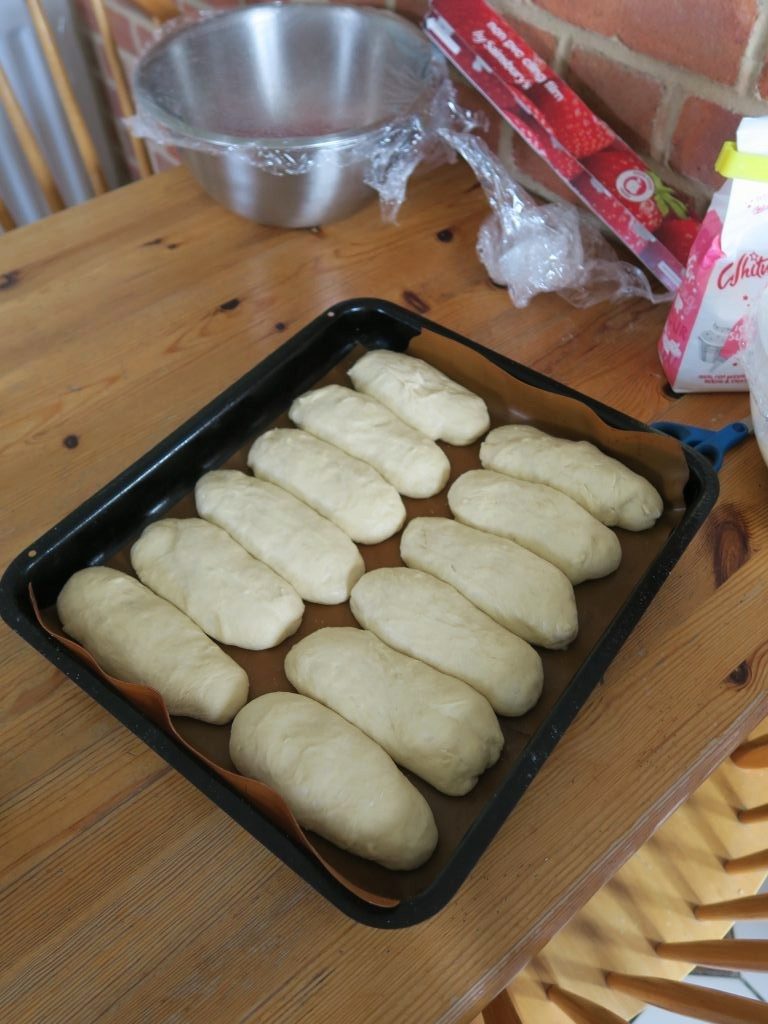
  7. Place the fingers on baking tray lined with baking paper, (making them spaced out enough to rise, but close enough that they’ll join together when risen – about 2cm between each should do). Cover loosely with clingfilm and leave to rise for another 40 minutes.
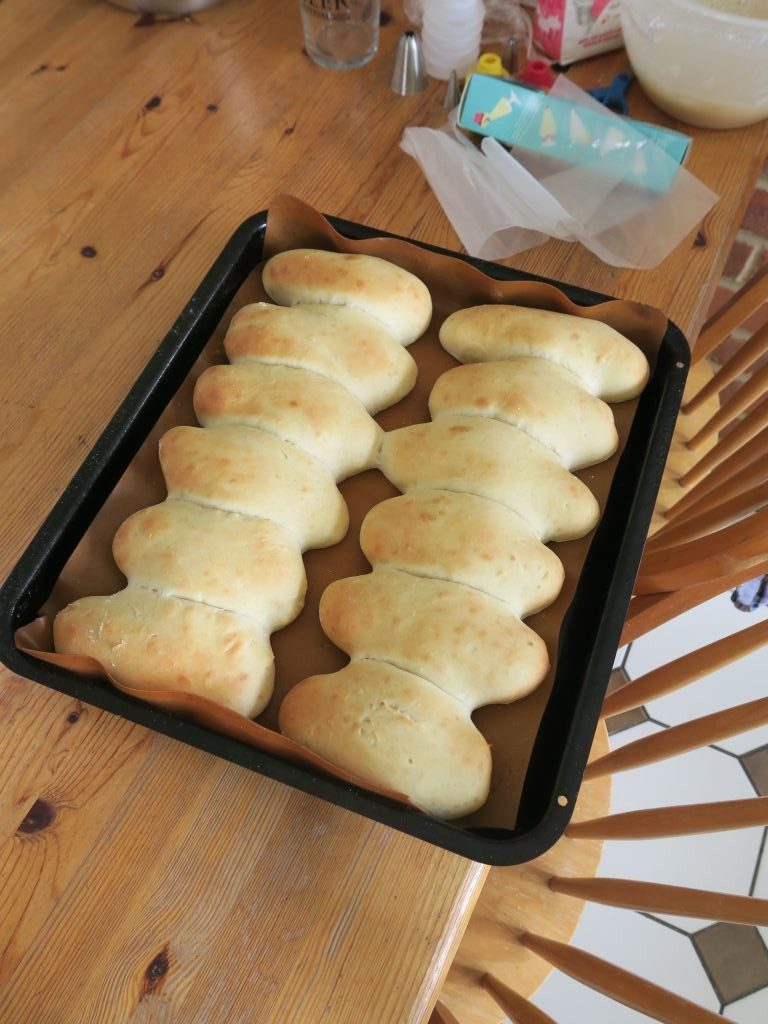
  8. Bake the buns in the oven for about 10 minutes until risen and just starting to turn golden brown. Set aside to cool.
  9. Now make the fillings. To make the crème patisserie begin by putting the milk and vanilla into a small saucepan and bring to just below the boil.
  10. Whilst waiting for the milk to warm up, put the sugar, egg yolks, flour and cornflour into a bowl and whisk to make a smooth paste.
  11. Pour the warm milk over the egg mixture in a steady stream, whisking constantly, until combined.
  12. Pour the mixture back into the pan and heat whilst whisking over a medium heat until the mixture thickens. Pour the crème patisserie into a bowl, cover with clingfilm and leave in the fridge to cool.
  13. Now make the raspberry crème patisserie. Put the raspberry puree into a pan and bring to just below the boil.
  14. Like with the traditional crème patisserie, put the sugar, egg yolks and flours into a bowl and whisk until they make a smooth paste.
  15. Pour the warm raspberry puree over the egg mixture, whisking constantly until combined. Place the mixture back over a medium heat and whisk until the mixture thickens.
  16. Pour the raspberry crème patisserie into a bowl, cover with clingfilm and leave in the fridge to cool.
  17. To make the jam take the peach flesh and chop it into small chunks.
  18. Put the peach, sugar and lemon juice into a pan and bring to the boil. Leave to boil for about 20 minutes until the mixture coats the back of a spoon. (You can also check the consistency by putting a plate in the freezer. When you think the jam is ready take the cooled plate, put ½ tsp of the jam onto the plate and put it in the fridge. It should set/wrinkle when prodded. If it doesn’t it needs a bit longer).
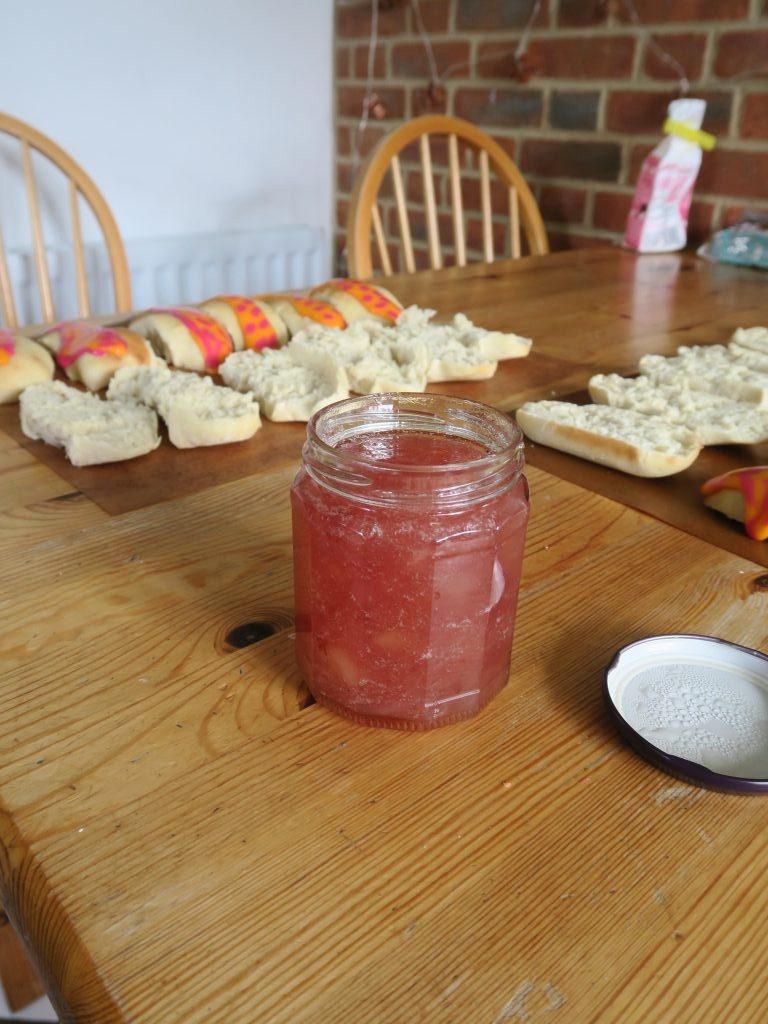
  19. Pour the jam into a sterilised jam jar and leave to cool until needed.
  20. Now make the icing. Put 150g of the icing sugar into one bowl with 3tsp of the water, and the other 50g icing sugar and 1tsp into another bowl. Mix each set of icing individually. Then add a few drops of orange food colouring to the large batch and a few drops of pink food colouring to the small batch. Mix until the colours are even through the icing.
  21. Pour the orange icing into a pipping bag with a 1cm round nozzle, and pour the pink icing into a pippin bag with a 1mm round nozzle.
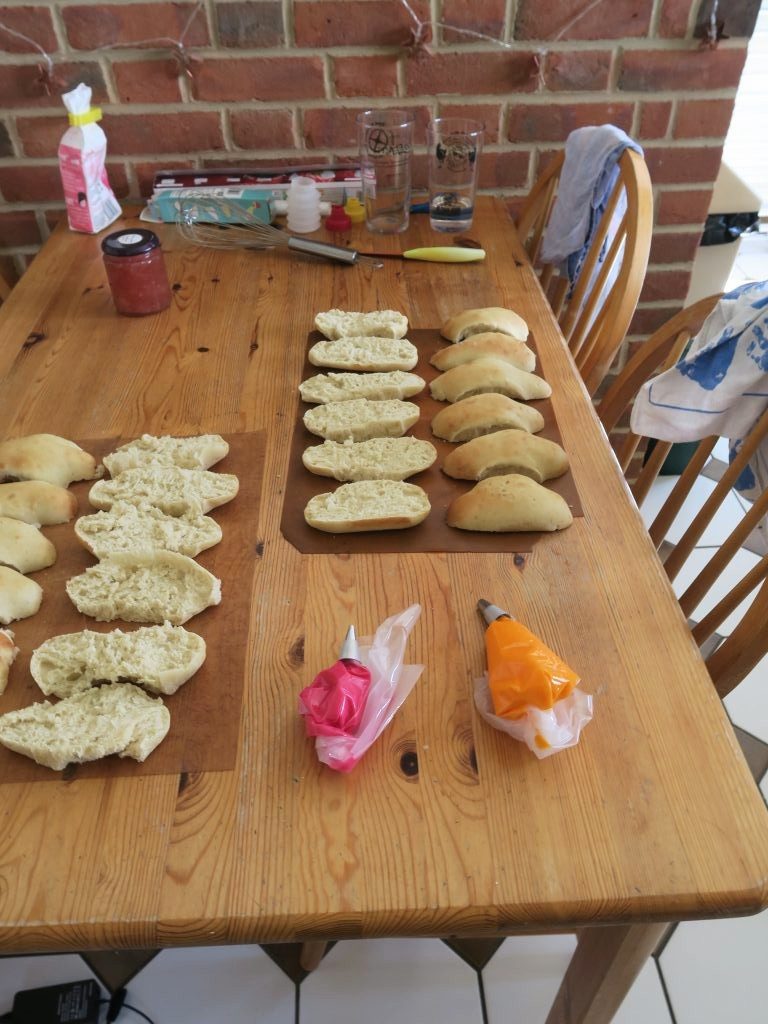
  22. When the buns are cooled cut them in half, placing the tops next to the bases.
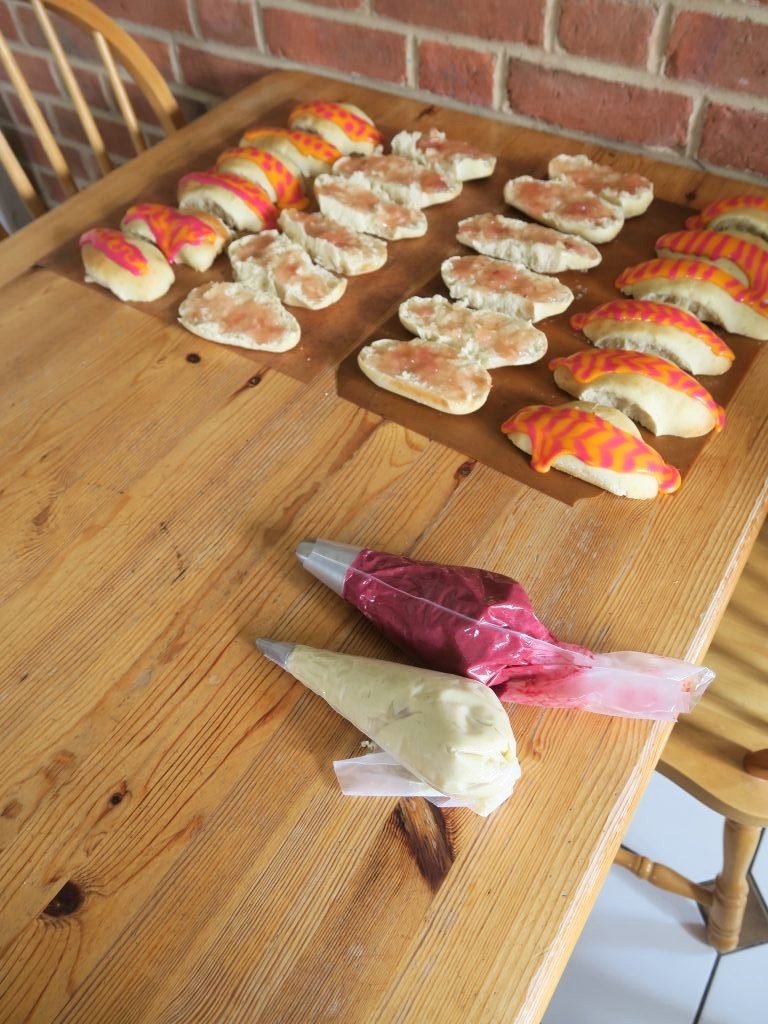
  23. Pipe a line of orange icing across the tops of the buns. (If needed you can take a palette knife, heat it by running it under some warm water for a few seconds, then run it along the icing to smooth it out). Then take the pink icing and pipe spots or lines across the top of the orange icing. (If you want you can then take a tooth pick and run it up and down the icing to feather it, but it’s up to you!). Leave for about an hour to set.
  24. Take the peach jam and spread about 1tsp over the base of each bun.
  25. Take the crème patisseries and put them into separate pipping bags with 1cm stared nozzles (or use disposable pipping bags and cut your own nozzles).
  26. Pipe alternating blobs of vanilla and raspberry crème patisserie over the peach jam (I get about 2 of each on each bun).
  27. Place one of the iced tops on top of the bun and enjoy!
Thanks for reading!

Emma x
 

Beetroot Burger Buns

Beetroot Burger Buns

Recipe

Makes 4 burgers

Time:1 hour, plus rising and baking time

Ingredients

For the dough

  • 1 medium cooked beetroot
  • 50ml milk
  • 350g strong white bread flour
  • 1 tsp fine salt
  • 15g caster sugar
  • 4g fast action dried yeast
  • 2 eggs
  • 75g butter

For the topping

  • 1 small egg
  • ½ tbsp black sesame seeds

Method

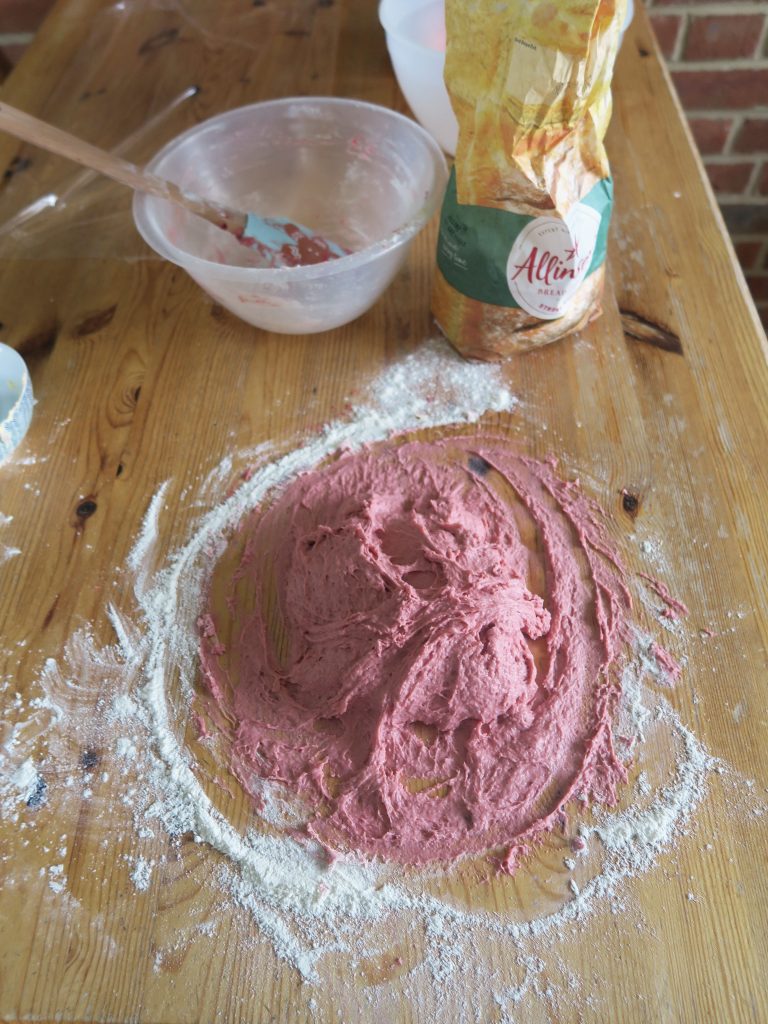
  1. Put the beetroot into a bowl and blitz until smooth with a hand blender.
  2. Place the milk into a saucepan and warm through.
  3. Put the flour, sugar, salt and yeast into a bowl. (Make sure to not put the salt and yeast directly on top of each other as the salt can deactivate the yeast).
  4. Pour in the warm milk and then add the beetroot purree and the eggs. Stir until a smooth dough forms.
  5. Turn the dough out onto a worktop and knead for about 5 minutes until smooth and stretchy. Add the butter and knead for another 5 minutes to incorporate.
  6. Lightly grease a bowl and tip the dough into it. Cover with cling film and leave to rise at room temperature for about an hour, until doubled in size.
  7. Turn the dough out onto a lightly floured worktop and knead for 5 seconds to knock the excess air out.
  8. Divide the dough into 4 equal portions and shape each one into a ball.
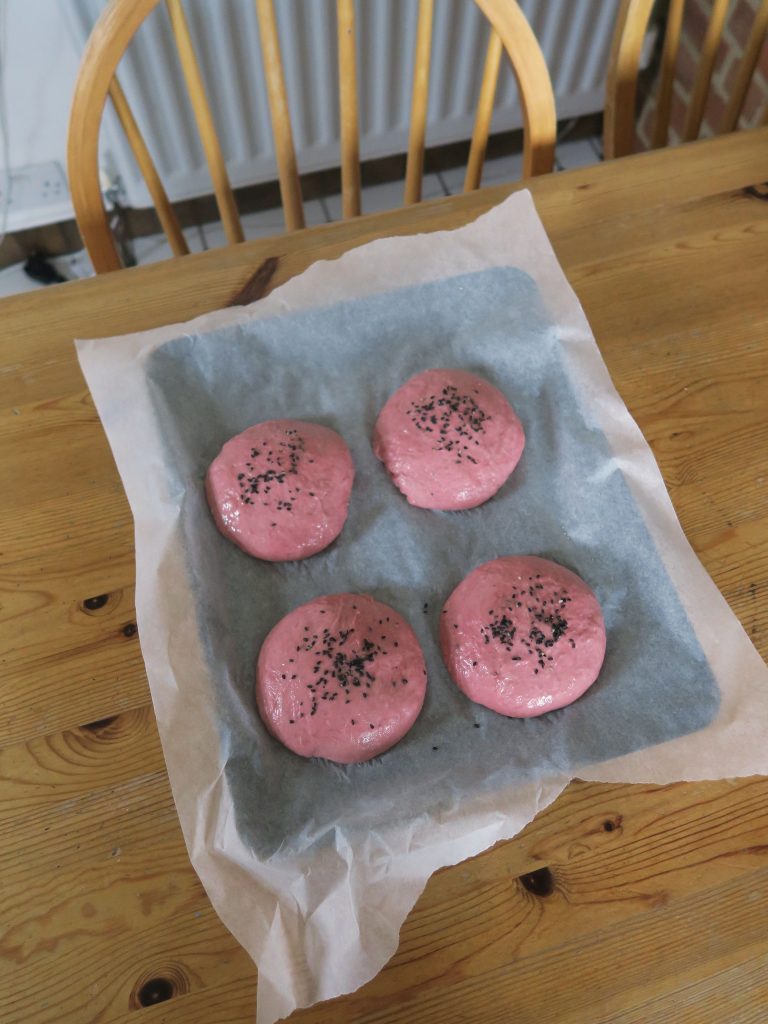
  9. Place each ball onto a lined baking tray, making sure they’re spaced well apart to allow for rising. Cover the buns loosely in clingfilm and leave to rise for another 30 minutes until puffed up.
  10. Beat the egg for the topping and brush it over the buns. Sprinkle the sesame seeds over the top and then bake the buns for about 25 minutes, until a crust has formed and they have risen.
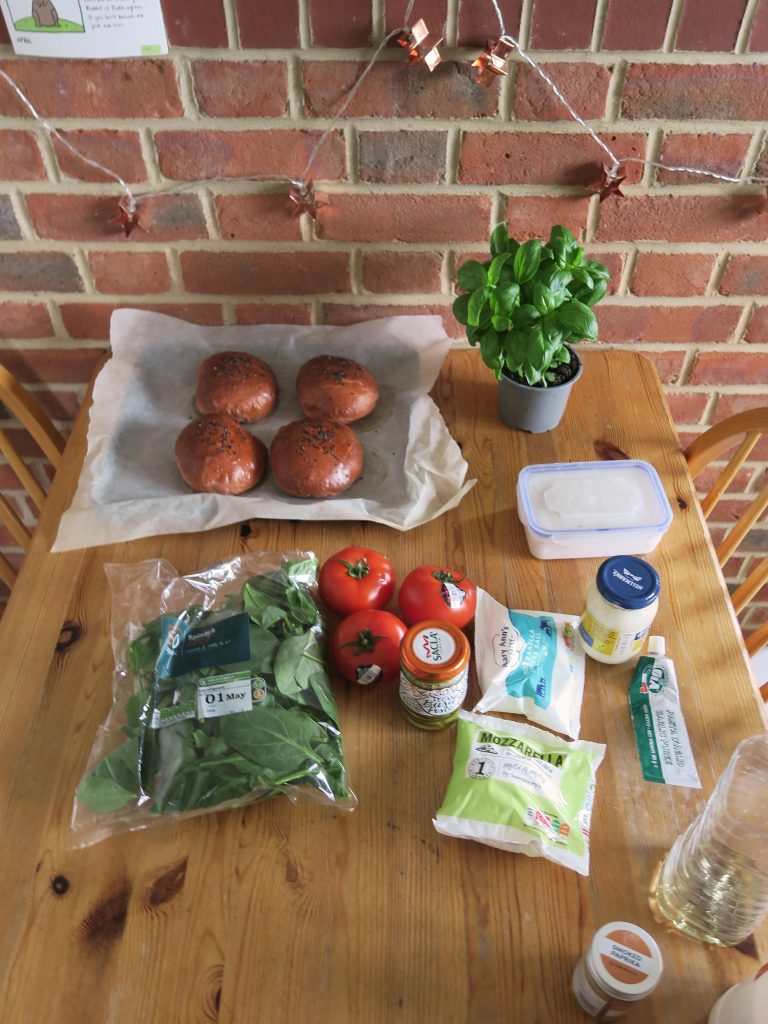
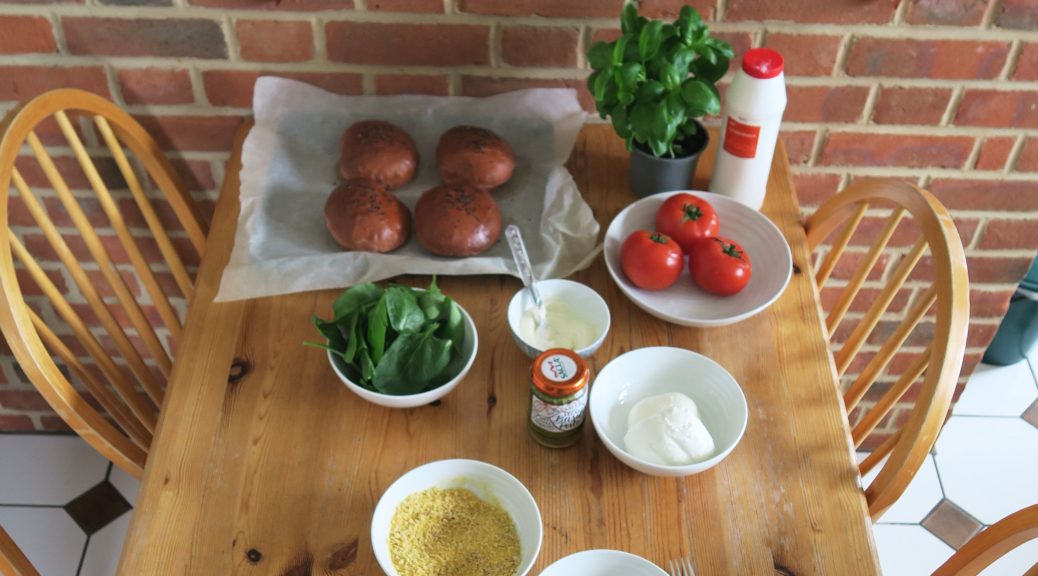
  11. Leave to cool on a wire rack and then stuff with whatever you want! (For suggestions see my Veggie Burger Recipe…)


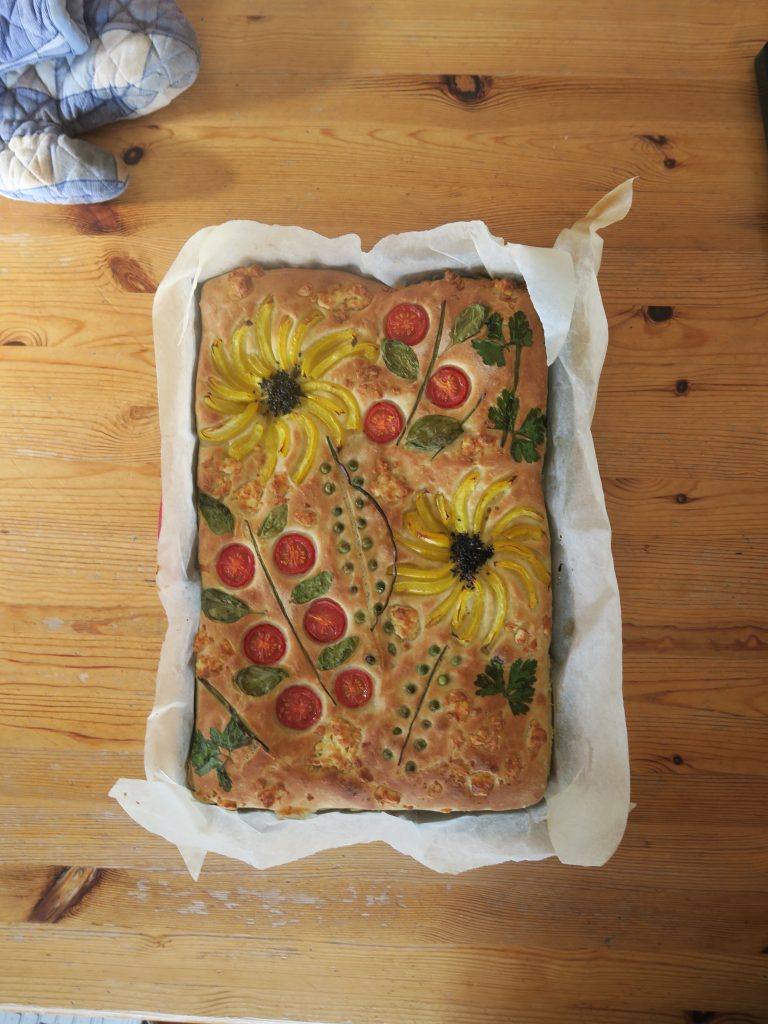
Picture Focaccia

Picture Focaccia


Recipe

Makes 1 loaf

Time: 1 hour, plus proving and baking time

Ingredients

  • 500g strong white bread flour
  • 7g fast action dried yeast
  • 2 tsp table salt
  • 5 tbsp olive oil
  • 1 tsp flaky sea salt

To decorate

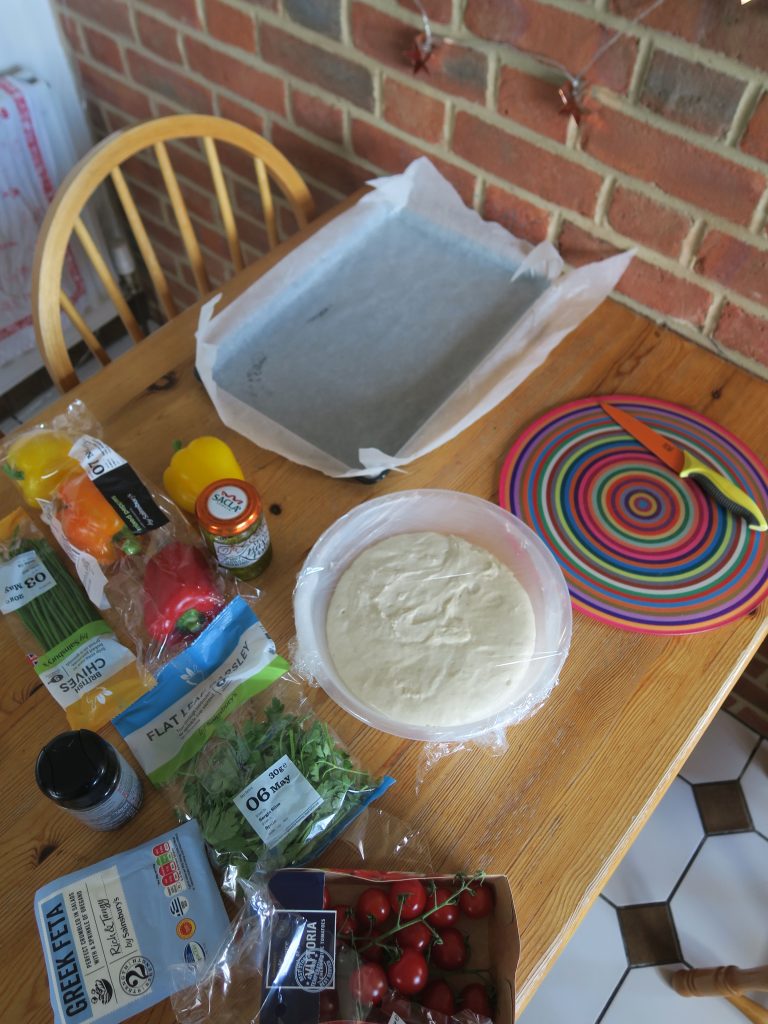
  • 1 yellow bell pepper
  • A handful of cherry tomatoes
  • Fresh basil leaves
  • Fresh chives
  • A handful of peas
  • 3 tsp black sesame seeds
  • A few leaves of flat leaf parsley
  • 50g feta cheese

Method

  1. Put the flour, yeast and salt into a large mixing bowl (make sure not to put the yeast directly on top of the salt or it could deactivate). Mix everything together.
  2. Add 2tbsp of the oil and 350-400ml water. Mix everything together until you have a sticky dough.
  3. Turn the dough out onto a worktop and knead for 5-10 minutes until smooth and stretchy.
  4. Lightly oil a bowl and tip the dough into it. Cover with clingfilm and leave to rise for 1 hour, or until doubled in size.
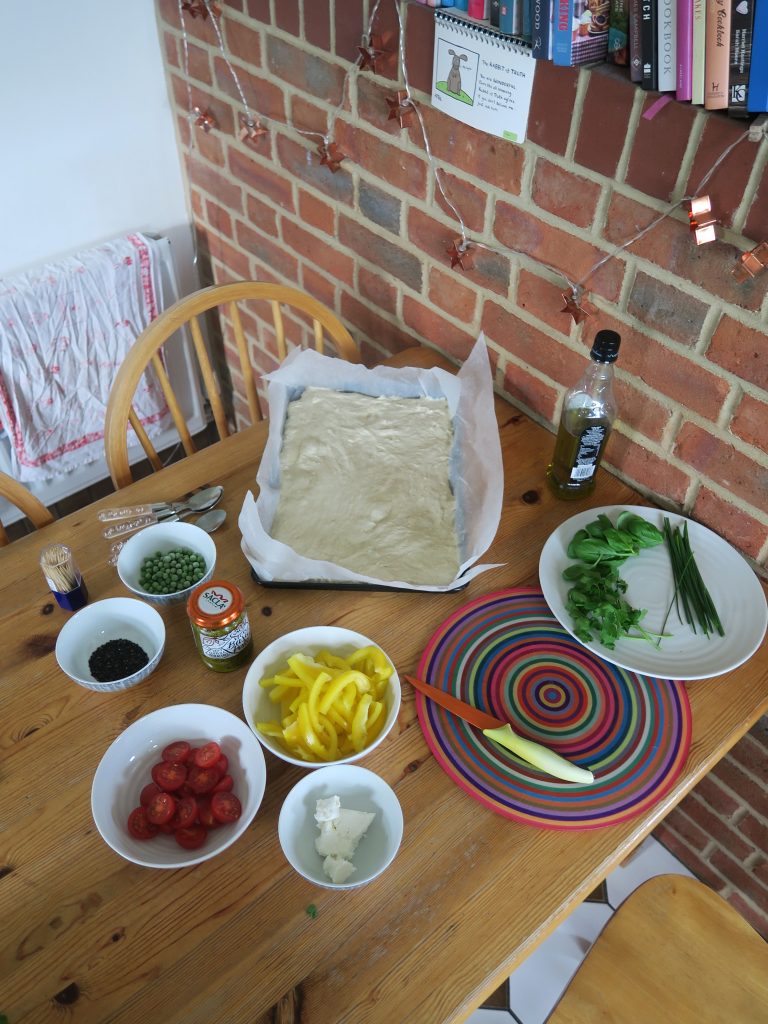
  5. Oil a shallow 25x35cm tin. Tip the dough into the tin and press it out to fill it in an even sheet. Cover with cling film and leave to prove for another 30 minutes.
  6. Now prepare the fillings. You can have fun with this so let your imagination run wild, however this is what I did…
  7. De-seed and then slice the yellow peppers into batons. Halve the cherry tomatoes and then pop all your other toppings into bowls or on plates so you can access them easily.
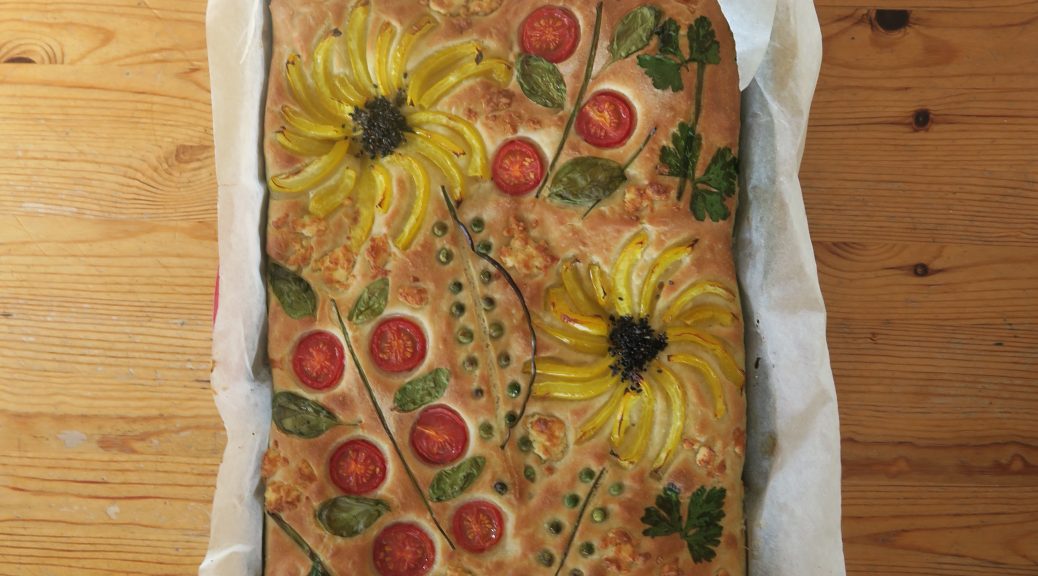
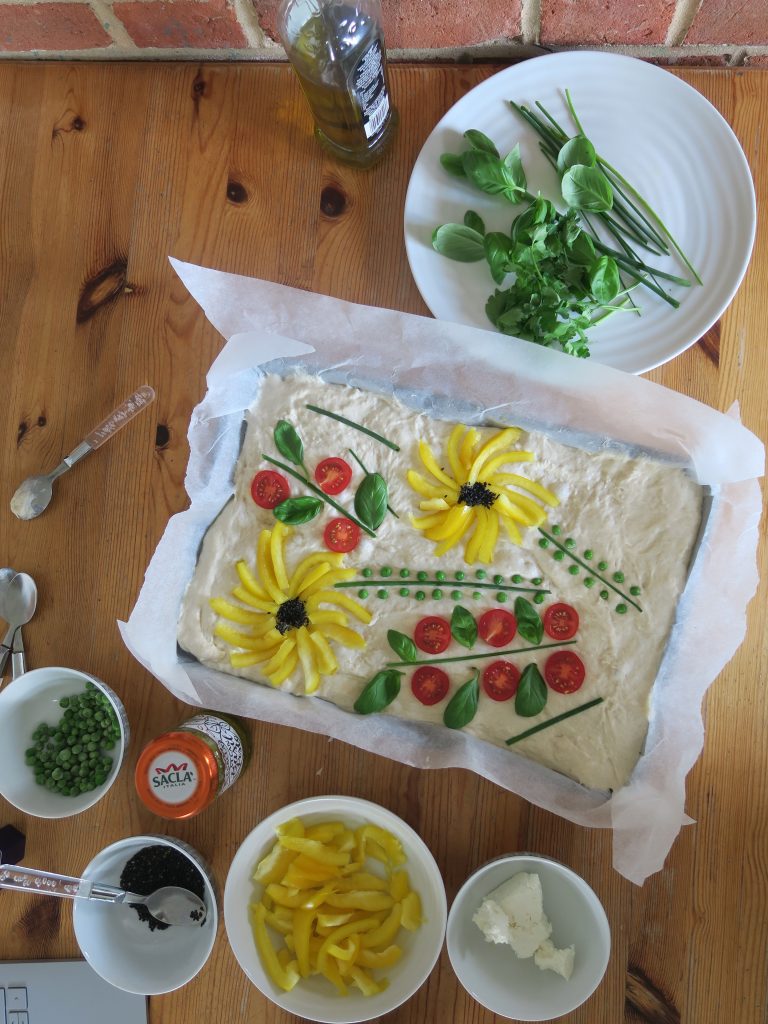
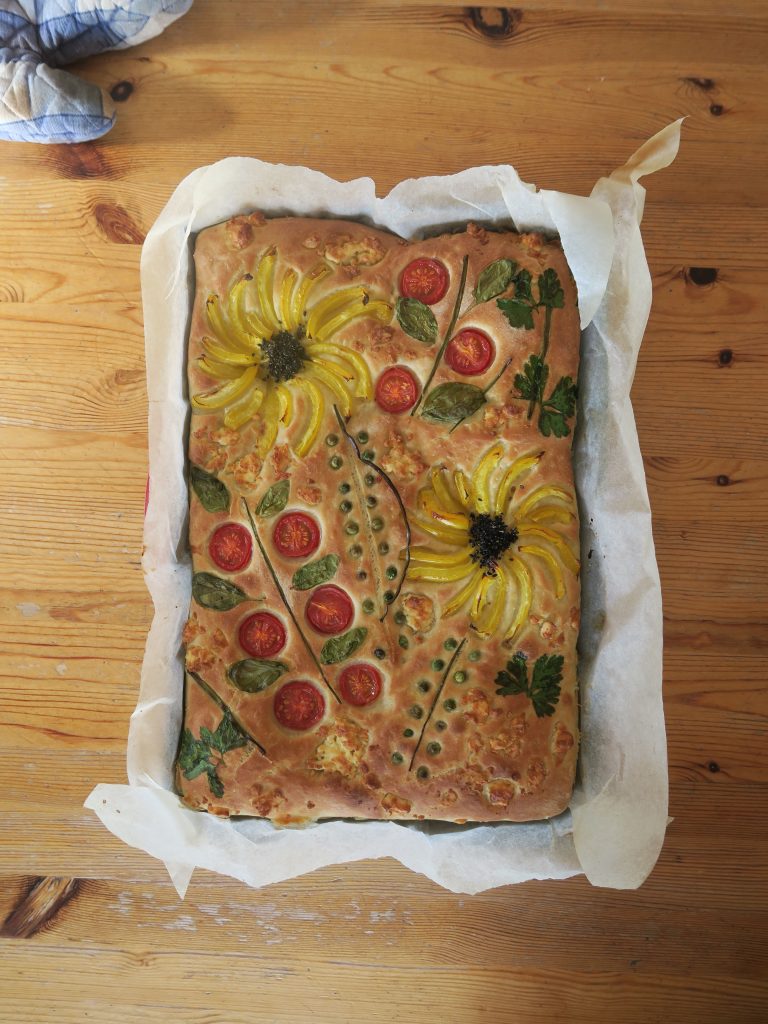
  8. Arrange your yellow peppers over the bread in little flowers, leaving a small circle in the middle to be filled with black sesame seeds.
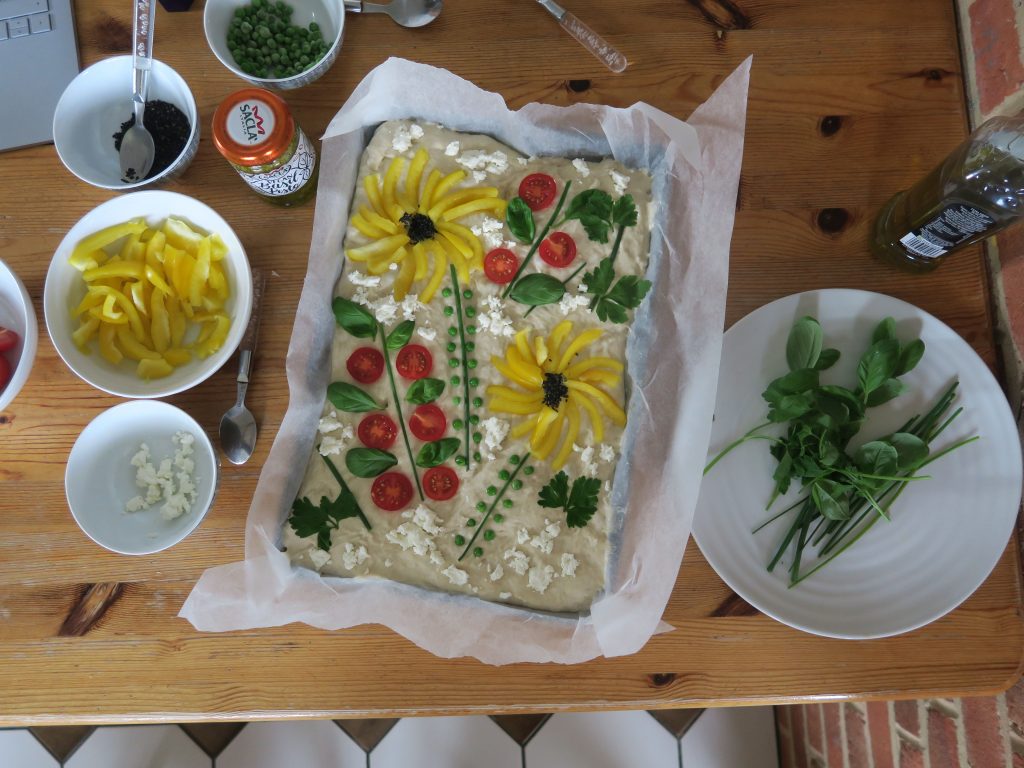
  9. Place your long herbs (e.g chives) to look like the stems of the flowers. Arrange the tomatoes, peas and basil leaves to look like leaves and seeds climbing up the stems. Then fill in the gaps with parsley leaves and some crumbled feta. (Make sure whatever topping you put on you press into the dough enough that it wont fall off once baked)
  10. Pre-heat the oven to 180C. Mix together 1tbsp of the olive oil with 1tbsp of the water and drizzle it oven the risen and decorated bread. Sprinkle over the sea salt and then bake for 15-20 minutes, until golden brown. Enjoy!

Thanks for reading!

Emma x

Classic Cinnamon Buns

Classic Cinnamon Buns


Recipe

Makes 12

Time: 2 hours

Ingredients

  • 75g soya margarine
  • 250ml soya milk
  • 14g fast action dried yeast
  • 1 tsp salt
  • 45g caster sugar
  • 450g strong white bread flour, plus extra for dusting

For the filling

  • 100g soya margarine
  •  50g caster sugar
  • 2 tbsp ground cinnamon
  • 1 small egg
  • 1 tbsp soya milk

Method

  1. Melt the butter in a small pan. Add the milk and warm through until body temperature (about 38C if you have a thermometer).
  2. Add the yeast to the milk, stir to mix through and then leave for 10 minutes to activate.
  3. Put the salt, sugar and flour into a bowl. Pour over the milk and stir to make a sticky dough.
  4. Turn the dough out onto a worktop and knead for 5-10 minutes, until the dough is stretchy, smooth and not quite as sticky.
  5. Lightly oil a bowl (I find pouring a little oil onto a piece of kitchen roll and rubbing that inside a bowl works well). Then tip the dough into the bowl, cover with cling film and leave for 1 hour to rise.
  6. When the dough has doubled in size turn it out onto a lightly floured worktop and knead it for 5 seconds to knock out the extra air.
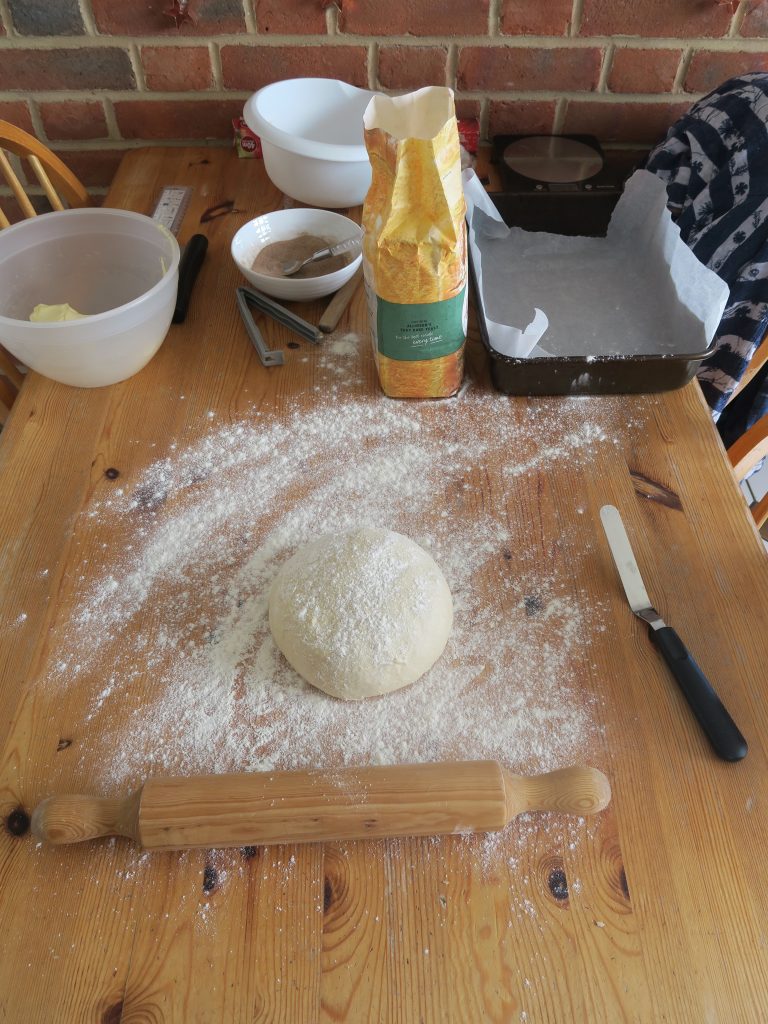
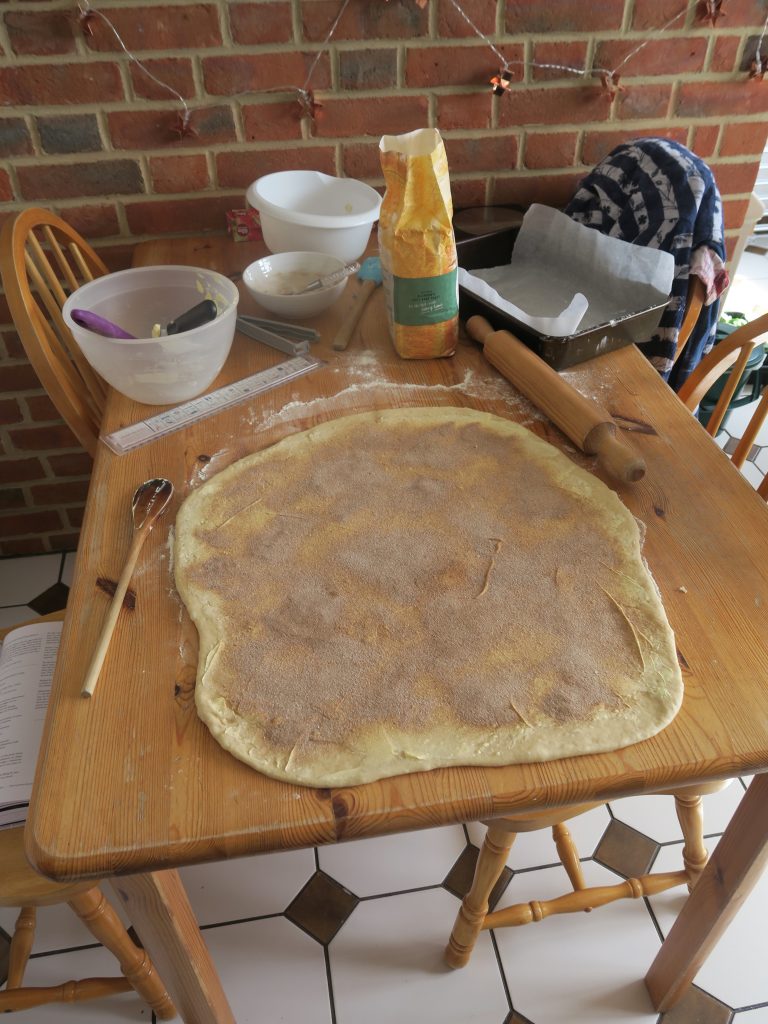
  7. Shape the dough into a rectangle and roll it out so it’s roughly 60x40cm.
  8. Use a palette knife of spatula to spread the soft margarine (for the filling) over the dough in an even layer.
  9. Mix the sugar and cinnamon together in a bowl and then sprinkle it over the butter in another even layer.
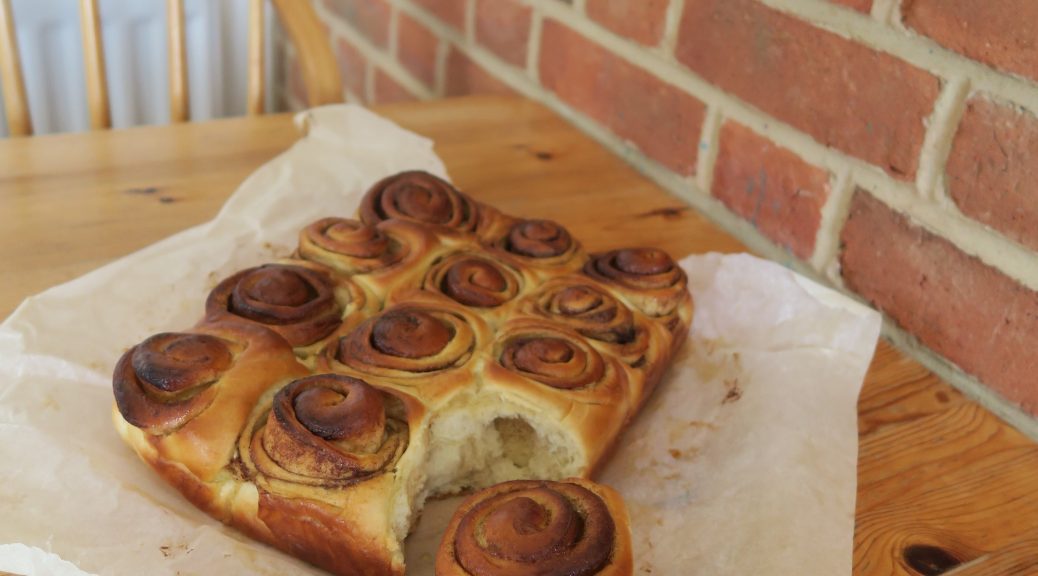
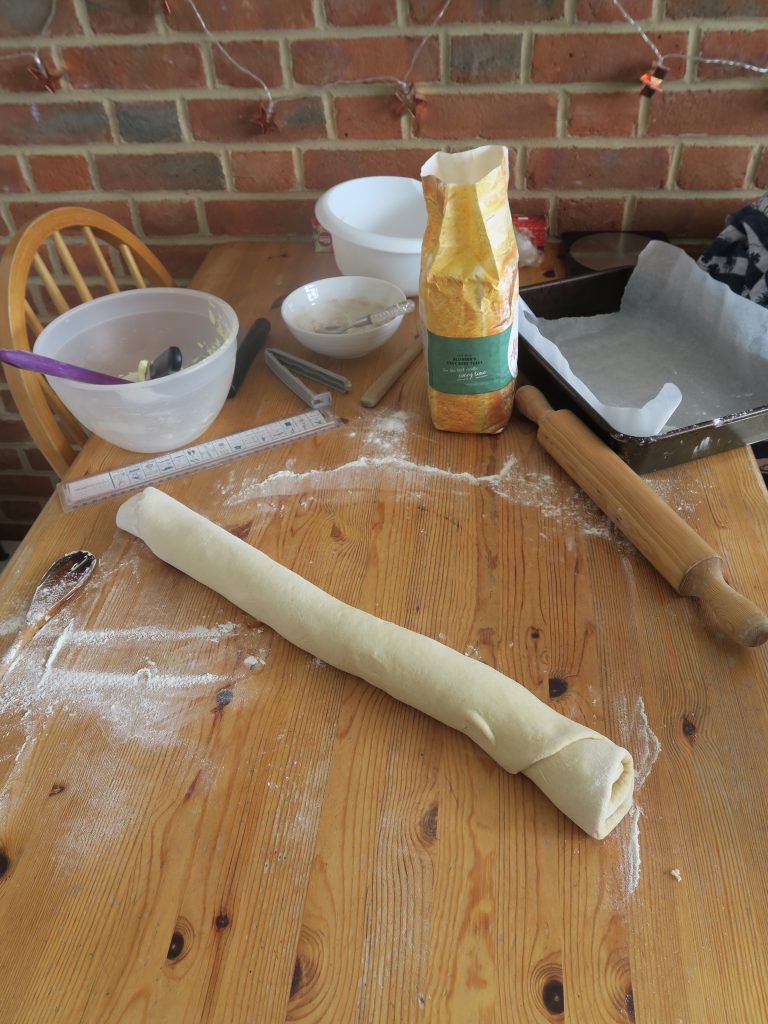
  10. Roll the dough sheet up, long edge to long edge to get a long sausage. Use a ruler and a sharp knife to mark every 1.5 inches along the roll and then cut at these points.
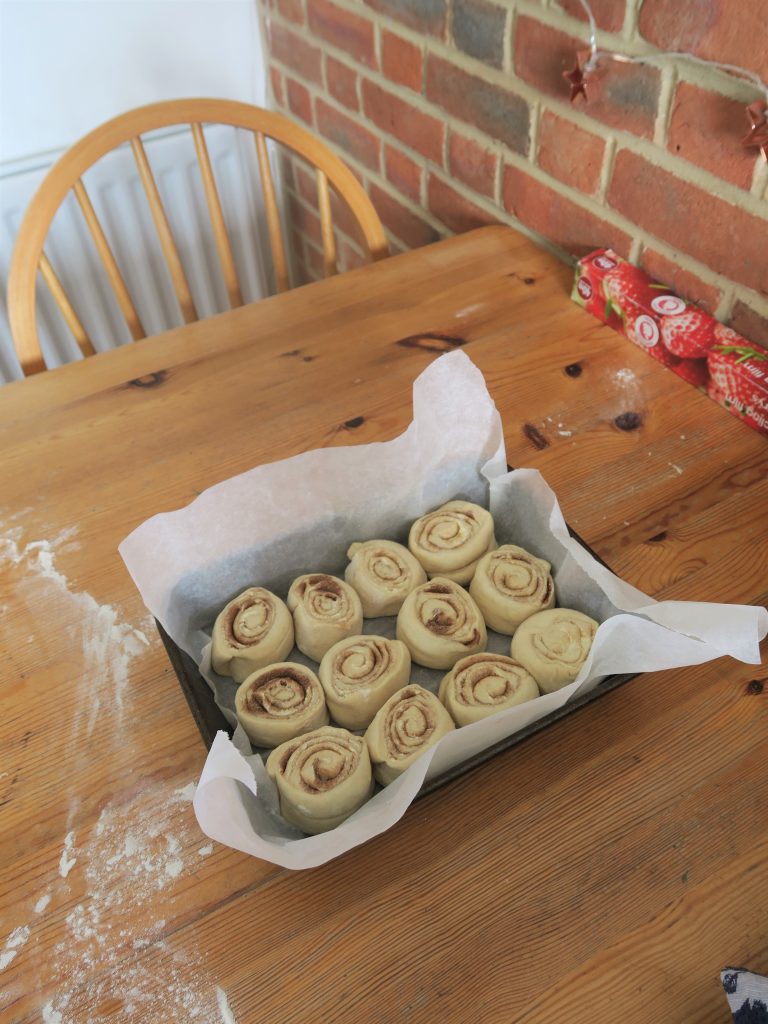
  11. Line a deep roasting tin with butter and baking paper. Transfer each bun to the tin, in 4 rows of 3. (You might need to gently nudge the buns into more of a circle shape if they got squashed during cutting).
  12. Cover the tin with clingfilm and leave to rise for 30 minutes. Pre-heat the oven to 200C.
  13. Beat the egg in a small bowl until runny and smooth. Add the milk and whisk again to combine. Brush this mixture over the buns to glaze.
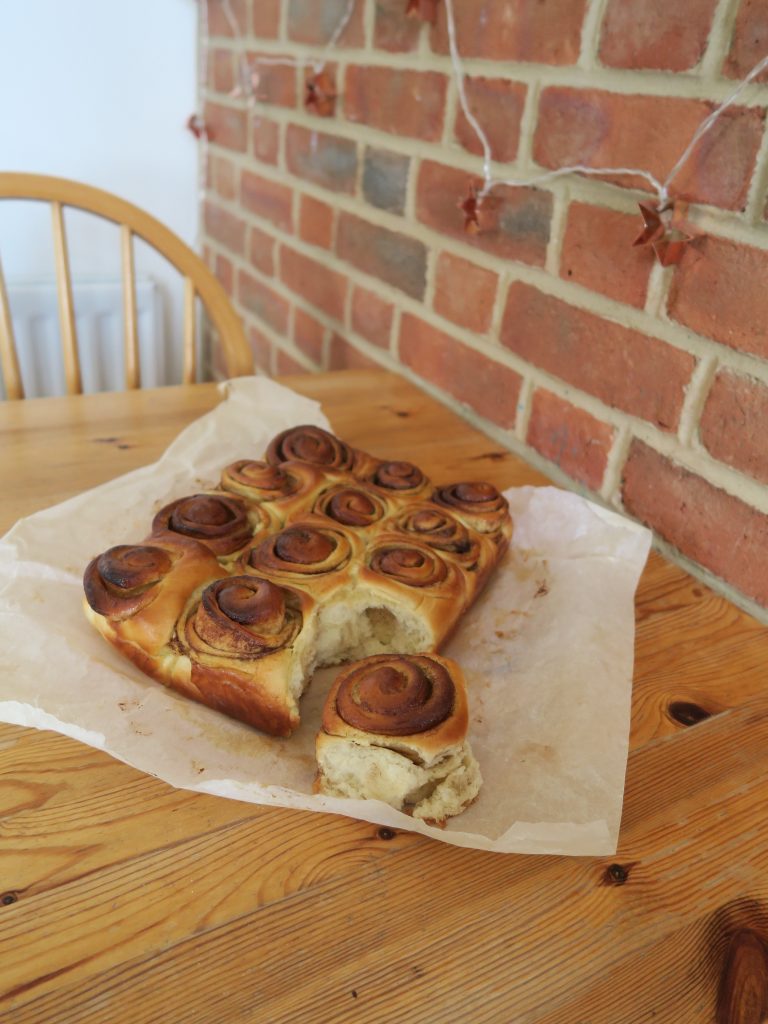
  14. Bake the buns in the oven for about 20 minutes, or until golden brown and risen.
  15. Leave to cool for 30 minutes and then enjoy!

Thanks for reading!

Emma x
Brioche Hot Cross Buns

Brioche Hot Cross Buns

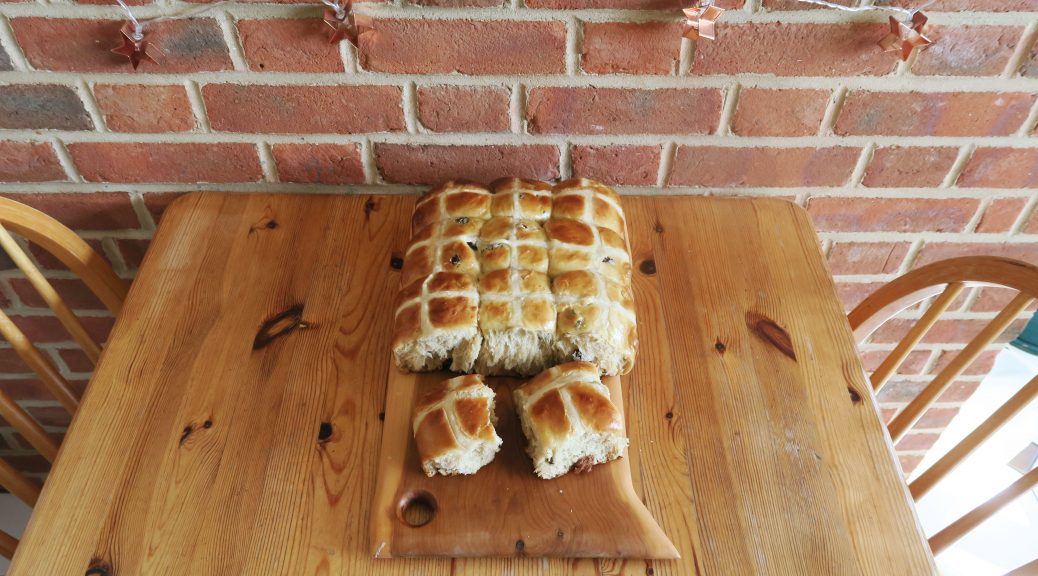
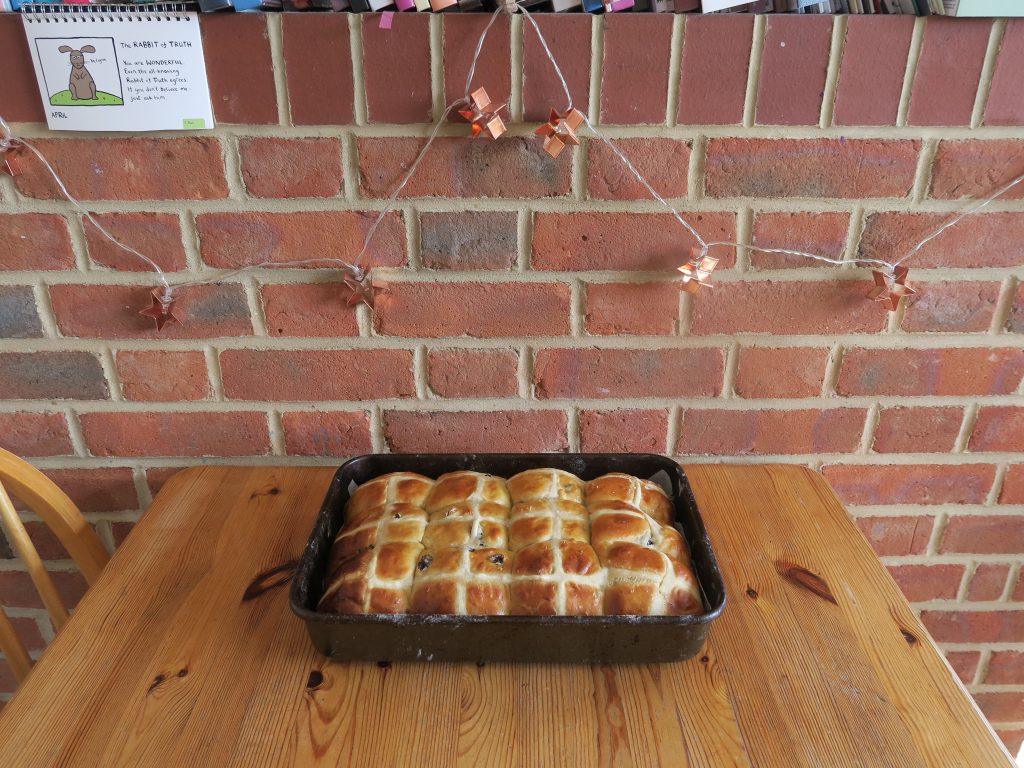
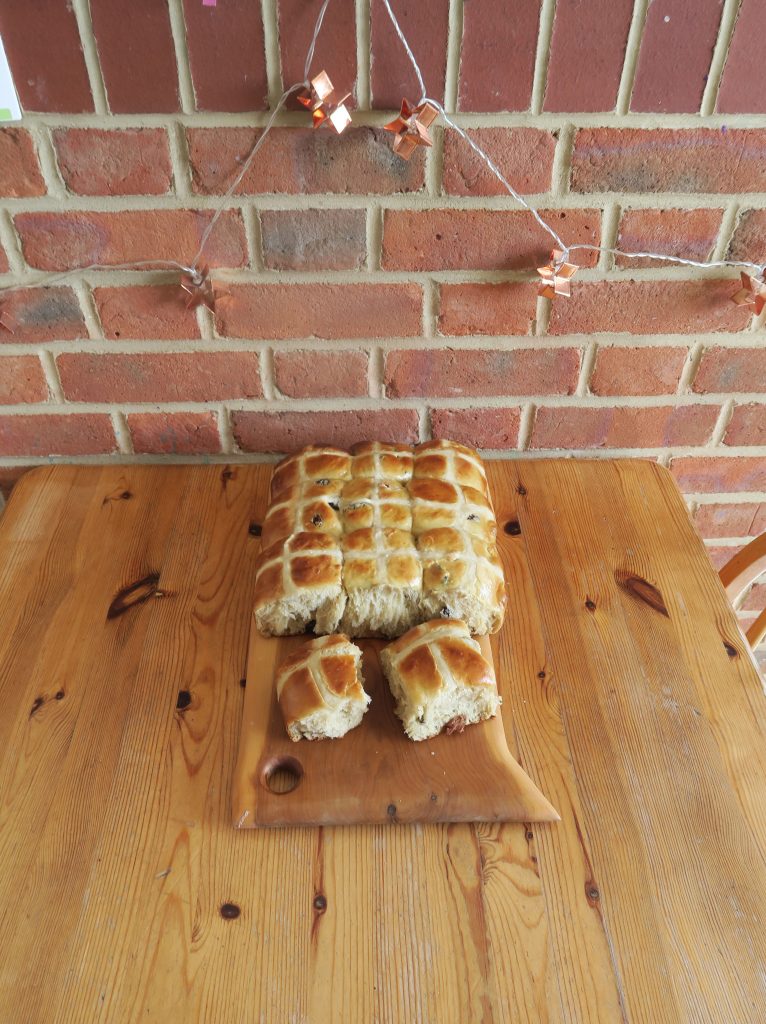
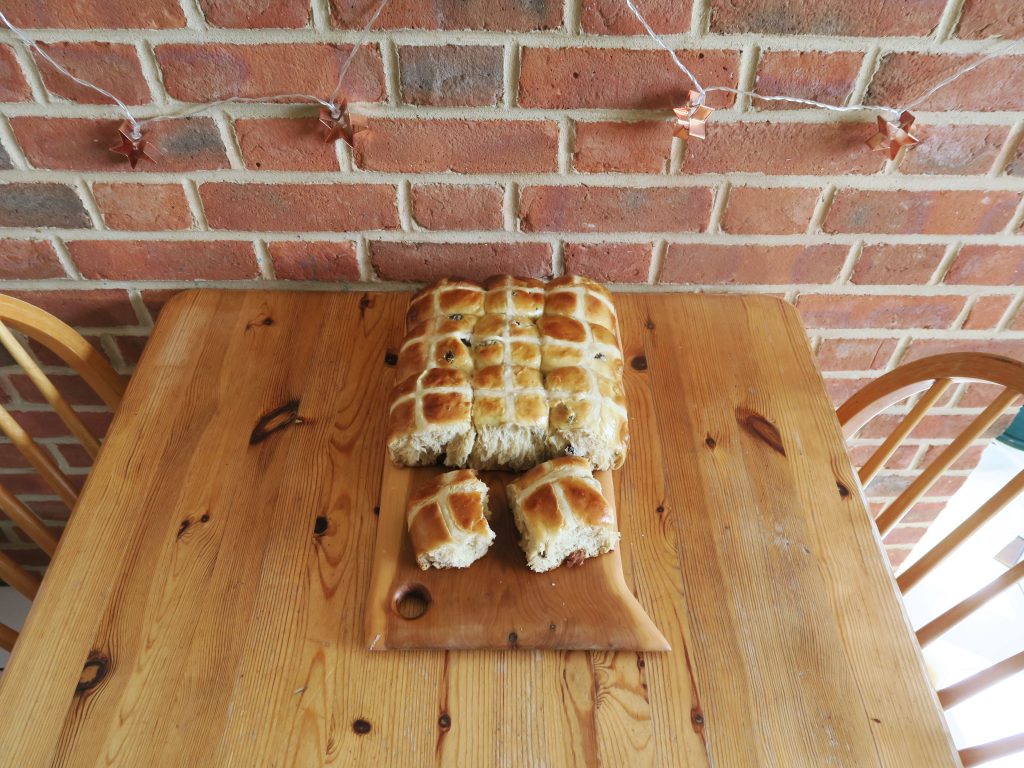
Happy Easter! Enjoy these delicious brioche hot cross buns fresh out of the oven, or toasted with a little butter for a tasty tea-time treat!

Recipe

Makes 12

Time: 1 hour, plus rising and baking time

Ingredients

  • 550g strong white bread flour, plus extra for dusting
  • 50g caster sugar
  • 2 tbsp ground mixed spice
  • 10g fast-acting dried yeast
  • 7g salt
  • 140ml milk
  • 5 medium eggs
  • 200g raisins
  • 150g butter

For the decoration

  • 50g plain flour
  • 1 egg, beaten
  • 1 tbsp milk

Method

  1. Put the flour, sugar, mixed spice, yeast, salt, milk and eggs into a big bowl and mix together to get a soft dough.
  2. Turn the dough out onto a work top and knead for 5-10 minutes until the dough is smooth and stretchy.
  3. Add the raisins and butter to the dough and knead for another 5-10 minutes to combine.
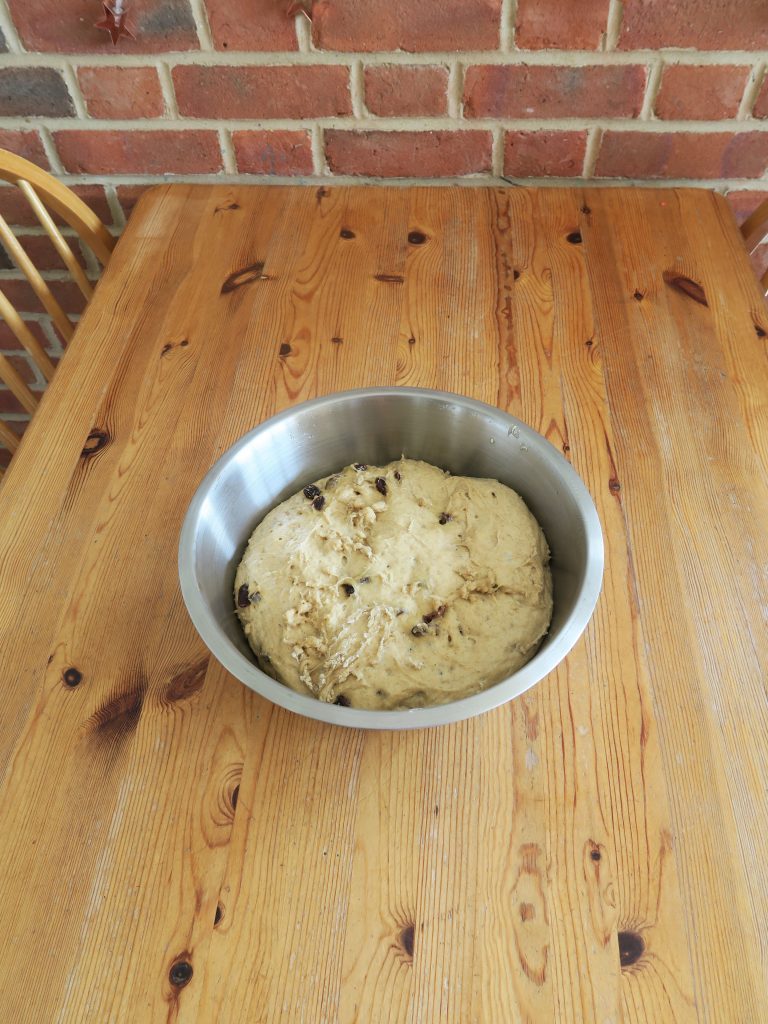
  4. Put the dough into a slightly oiled bowl. Cover with cling film and leave in the fridge overnight to rise.
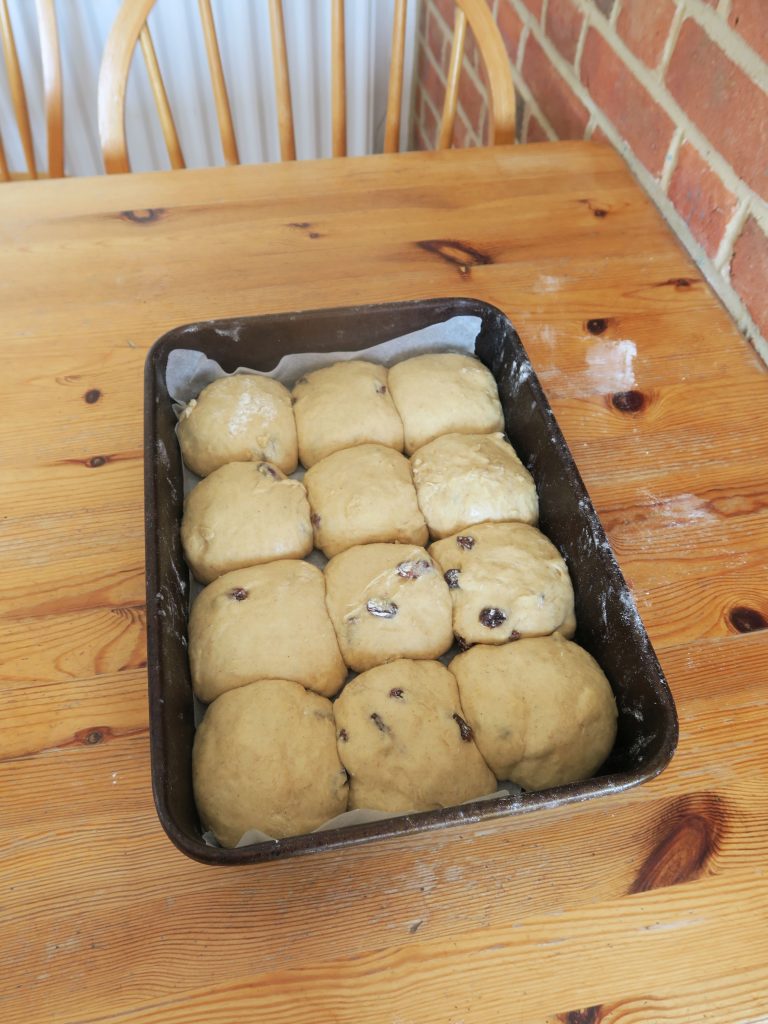
  5. Turn the risen dough out onto a work top and split into 12 evenly sized blobs. Shape each dough blob into a smooth ball by pulling the dough tightly underneath itself and then rolling it in the palm of your hand against a work surface.
  6. Place each ball of dough into a deep roasting tin to get 3 rows of 4 buns. Cover with cling film and leave to rise at room temperature for another hour (or until doubled in size).
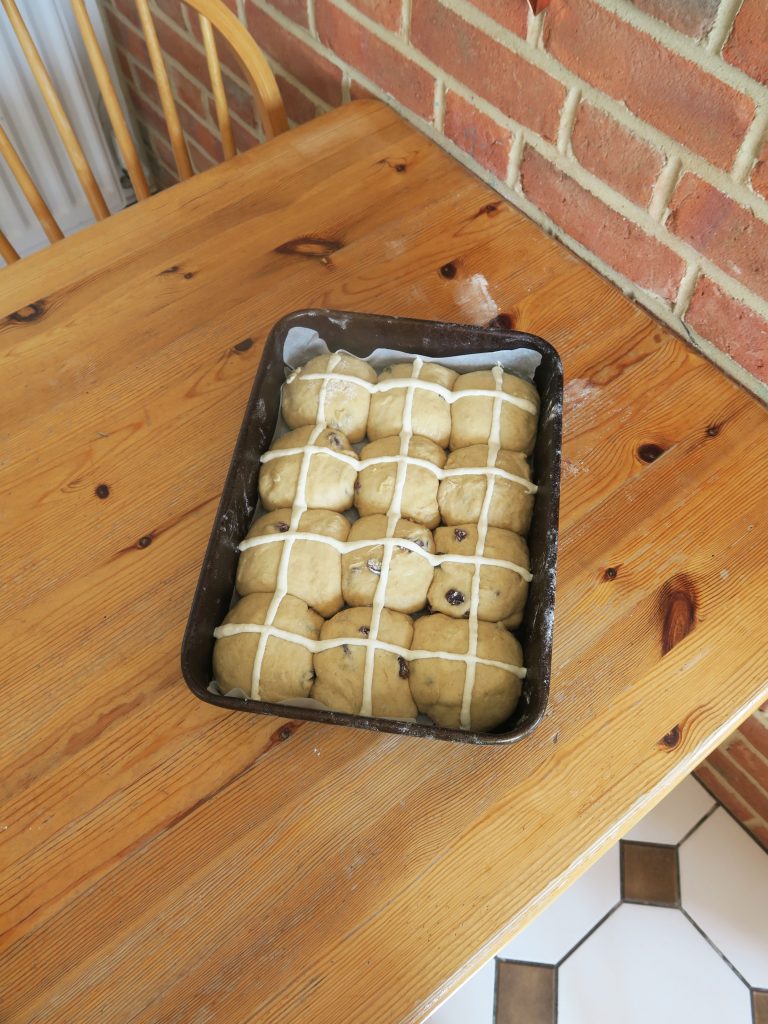
  7. Pre-heat the oven to 200C. Put the flour for the decoration into a bowl and add around 6 tbsp of water, one tbsp at a time, until you get a thick but pipable paste. Spoon this into a disposable piping bag and snip a small, round hole in the end to pipe out of.
  8. Pipe a cross on the top of each bun with the flour mixture (doing a whole row at a time can make this easier).
  9. Put the beaten egg and the milk into a bowl and beat with a fork until runny and smooth. Brush this over the top of the risen buns to glaze and then bake the brioche in the oven for about 20 minutes, or until golden brown.
  10. Leave to cool and then enjoy!

Thanks for reading!

Emma x